How to Decoupage With NO Wrinkles
If you've been visiting the Cottage for a while, you know that decoupage is a favorite around here. Recently, my friend, Kim asked me if I'd ever heard of the the iron method. I hadn't, but I learned about it and decided I was definitely going it give it a try.
WOW, was I impressed!
Let me show you this technique along with a cute Fall craft...
This post may contain affiliate links.
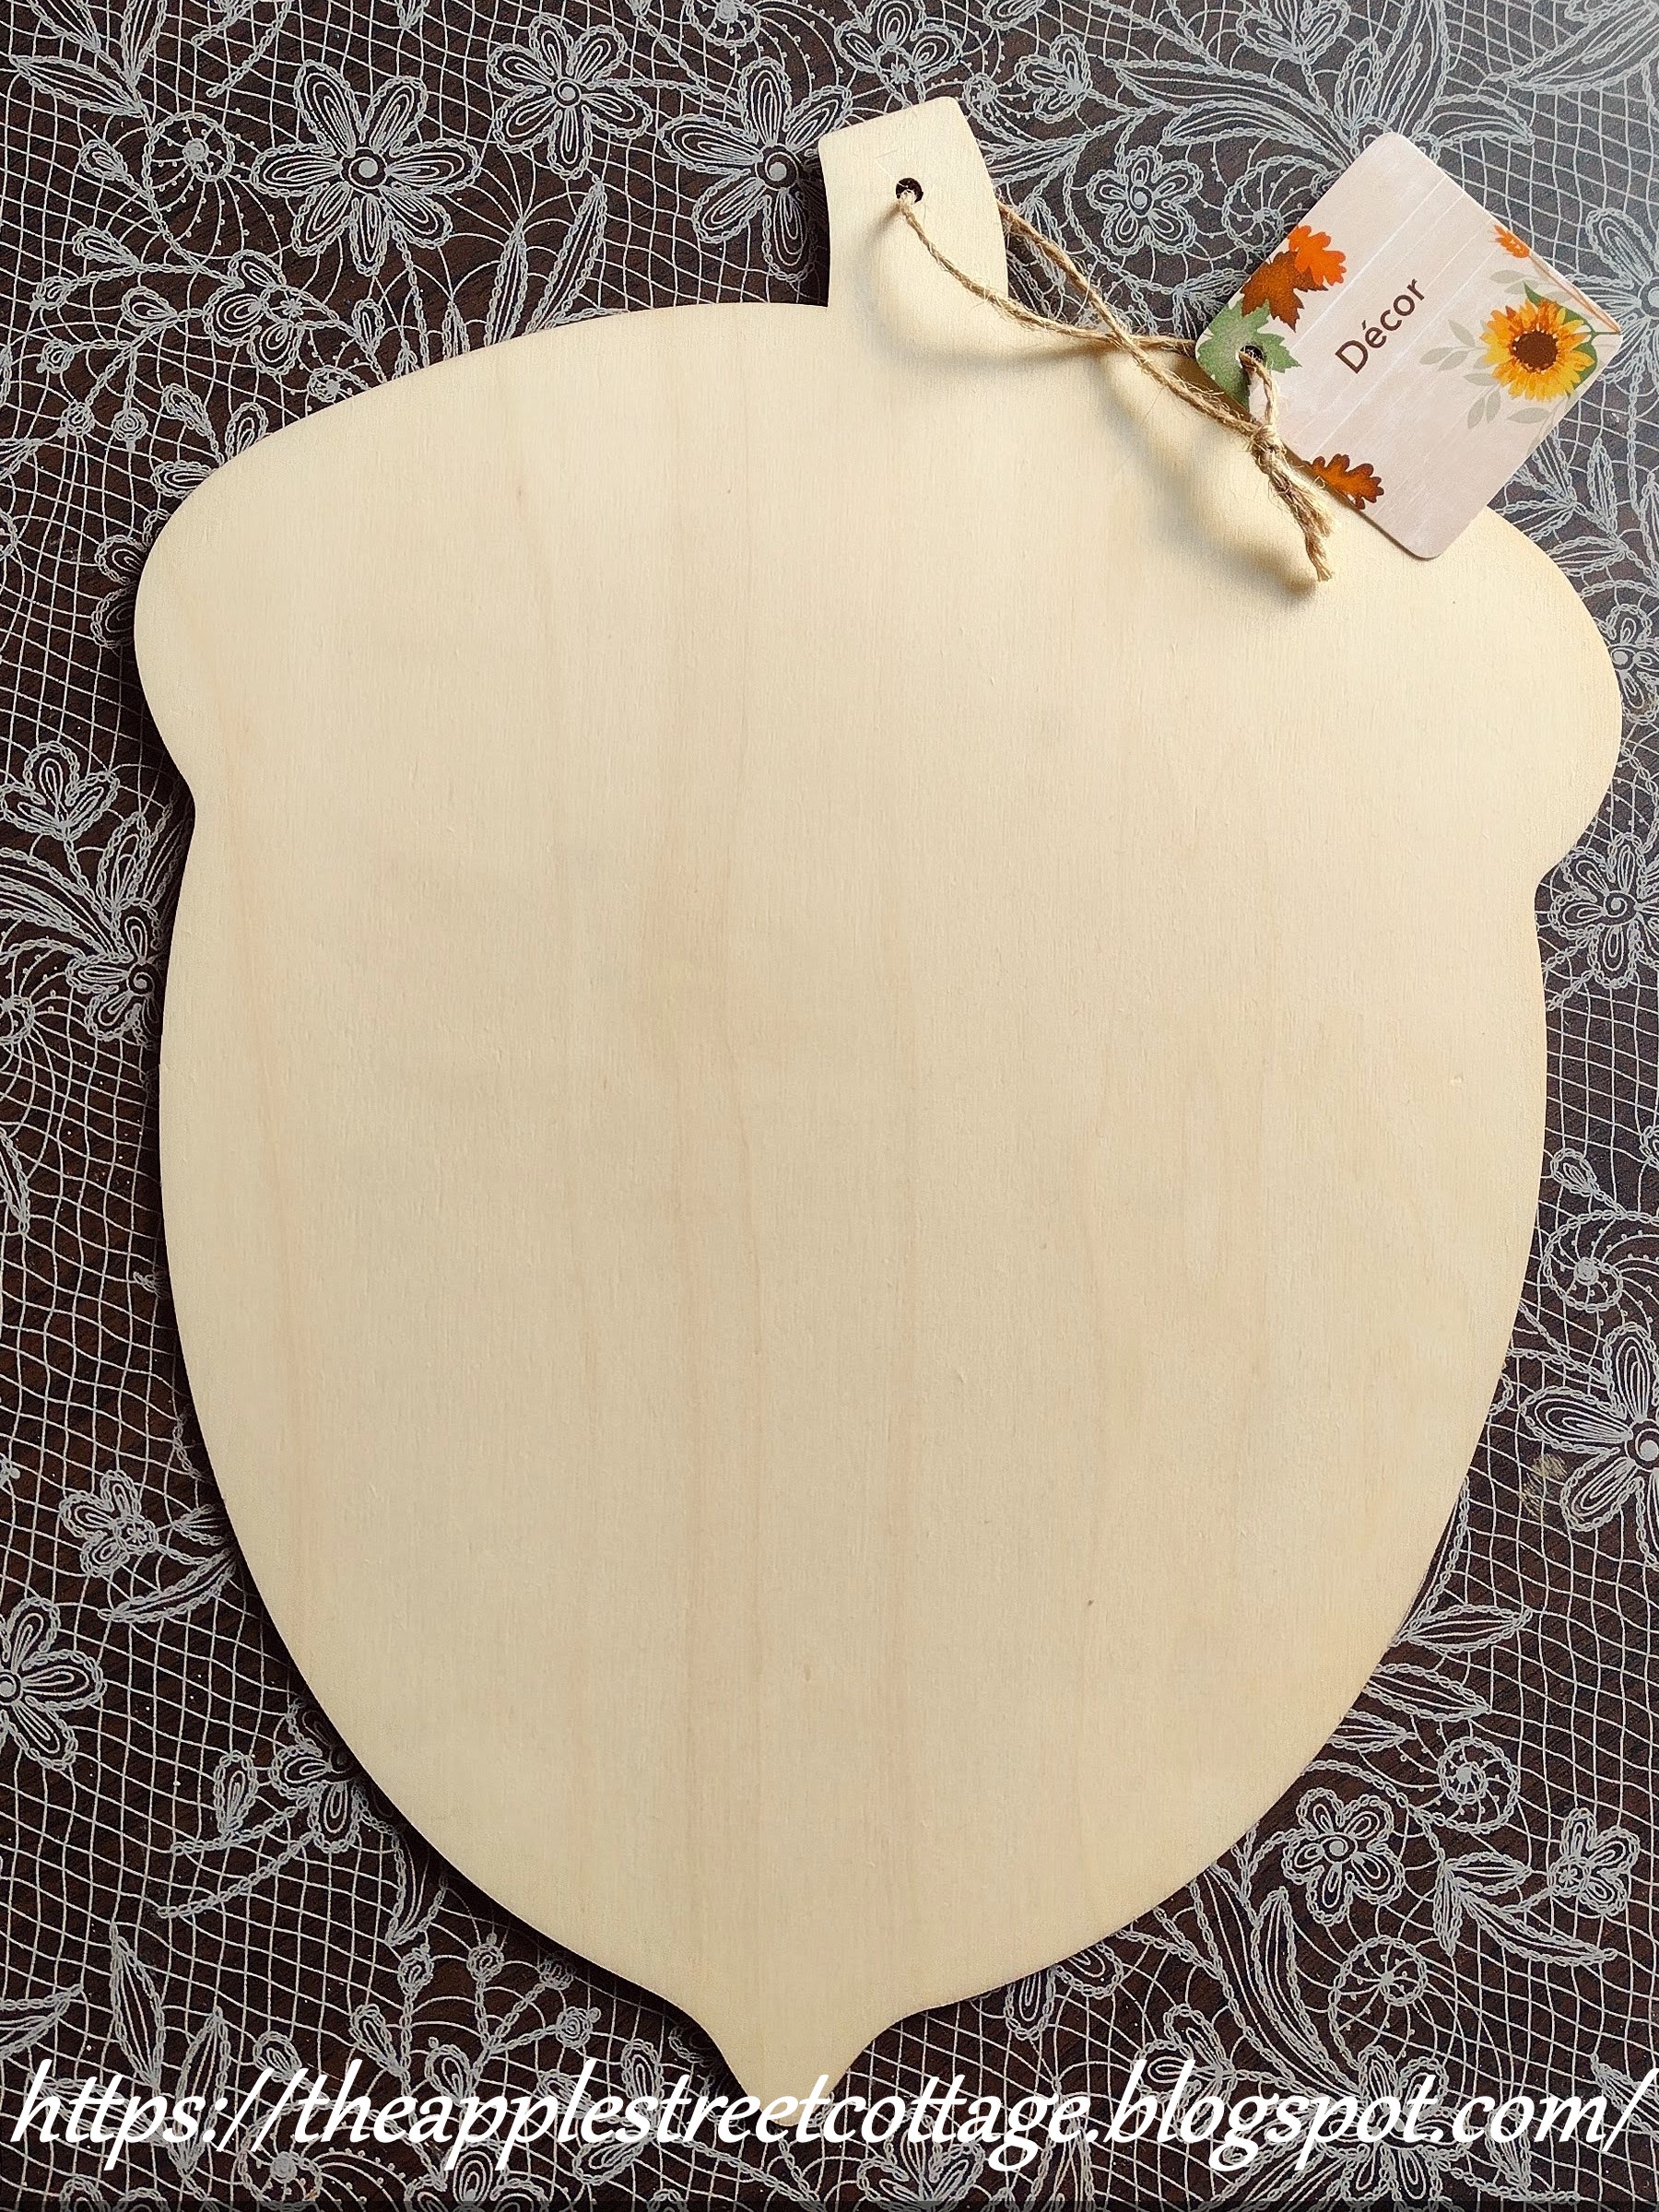
The first thing I did was head to the dollar store where I found a wood acorn cut-out and some pretty fall napkins.
I really love the soft colors in these napkins.


You'll need some wood filler (I'll show you that in a minute), Mod Podge, craft paint, a brush, your acorn, napkin, burlap, scissors, sandpaper, and (I almost forgot) a piece of parchment paper.. An iron is also needed, but more about that later!
The first thing I did was cut off the tag and fill that hole.

Since the napkin was mostly white, I painted the acorn with two coats of craft paint.

My paint must be getting old - it looked and felt a bit 'grainy', but some fine-grit sandpaper smoothed things out.
When the paint was dry, I brushed on a coat of Mod Podge.

When it was dry, I added coat number 2, and while waiting for it to dry, separated the layers on my napkin.

The napkin was placed on the acorn.

A piece of parchment paper was placed on top of it.

When you do this, set your iron on medium heat. The Mod Podge will melt and within seconds the napkin will be in place just as smooth as can be! Be sure to run your iron around the edges so your napkin won't end up 'lifting'. Your household iron will work just fine - no need for a craft iron, although if your heart is really set on one, this craft iron is one of the best.

That's it!

A piece of sandpaper released the excess from the edges.

Spray with clear sealer:

Now, for the cap...Get some burlap and trace around the top, leaving some extra for 'wiggle-room'.

Cut the burlap on the line.

Spread some glue on the acorn cap.

Add the burlap and let it dry.

Trim the excess.

I also added a little glue to the edge and smoothed-down any stray bits of burlap.
I didn't like the unfinished edge, so a piece of trim was glued on to cover it.

To 'dress it up', I made a bow with some jute and hot glued it on with a silk flower.

All ready for display!

How's that for an easy project? Let me know in the comments!
I really love the look you get with the iron method for decoupage. If you haven't tried it, you need to...so, off you go. Get your supplies together and give it a try!
Featured at:


Wow! That's amazing. It turned out beautifully!
ReplyDeleteThank you, Amy. It really is a great technique!
DeleteWow, that's magic! Thanks Ann!
ReplyDeleteJenna
Using an iron is a real game-changer, Jenna. Give it a try!
DeleteI'm going to have to try this! I love the acorn :)
ReplyDeleteYou have to try it, Tania. It's the best!
DeleteThat's crazy good, Ann! I'm so glad we found this technique. I'm all set to give it go, too. Thanks for the tips!!
ReplyDeleteIt really is, Kim and I'm so glad we found it, too. I just know you're going to love it!
DeleteLovely!
ReplyDeleteThank you!
DeleteBrilliant! And so impressive--it turned out beautifully. Thank you for sharing this post at the Will Blog for Comments #13 linkup. Hope to see you there again next week!
ReplyDeleteThank you, Jennifer. This will be my 'go-to' method now!
DeleteThat's a brilliant idea. Thanks for sharing. Pinning this!
ReplyDeleteThank you, Carol. It works so well!
DeleteThat's amazing!! It looks SO PRETTY!!! Thanks so much for sharing at Home Imagined this week!!
ReplyDeleteIt really is. You should give it a try!
DeleteAnn,
ReplyDeleteThanks so much for stopping by and for your sweet words about the apron I embellished!! I think it looks better too!! I hope you are having a great week!!
Hugs,
Deb
It's always fun to see what you're up to, Debbie!
DeleteThanks for sharing this, I so appreciate you explaining this
ReplyDeleteVisiting today from SSPS #50&180
I'm happy to do it, Paula. It's such an easy process with wonderful results!
DeleteSuper cute, Ann... I wonder if you could do this on rounded edge items, but use a hairdryer instead? Hmmm. Popped on over from TFT!
ReplyDeleteThank you, Julie. I don't know about rounded edges. I think you'd still need something to smooth it down, but it's worth a try!
DeleteWhat an interesting craft and it looks so pretty. I've never tried decoupage. Visiting from Weekend Traffic Jam Reboot. x
ReplyDeleteYou should give it a try - it's very easy!
DeleteWhat a great tip to use an iron! I had no idea. Thank you for sharing your post with the Home Imagined Link Party.
ReplyDeleteIt's new to me too and it works great!
DeleteI have been wanting to try this method myself, but I keep forgetting. I am so glad it turned out so well Ann. Too cute! I love it when a plan comes together.
ReplyDeleteYou need to try it, Cara. It's the best!
DeleteWhat a great hint! And I love how your project turned out.
ReplyDeleteThank you so much!
DeleteI'd love to have you share with us at https://tryit-likeit.com/create-it-link-party
ReplyDeleteI'd be happy to!
DeleteI'm so impressed! What a cool idea. And, wow, Ann, that turned out so beautifully. Visiting from the BFF Open House link party.
ReplyDeleteThank you so much, Jennifer!
DeleteGreat tips, featuring you at Wednesdays in the Studio!
ReplyDeleteThank you so much, Jennifer!
Deletesuch a pretty project
ReplyDeleteThank you, Janet!
Delete