Posts

Showing posts from April, 2019

Wine Bottle Wind Chime

Image
As promised, it's time to share my first project made with my new bottle cutter.  I loved the color of this bottle and immediately had a plan for it.   The first thing you need to know about cutting bottles is that it is a learning curve and there's a LOT of trial and error, as illustrated by this photo: The first two bottles I tried to cut ended up like this.  They started to crack along the etched line and then they didn't.  This is the bottle cutter I use.   By the third bottle, I had the hang of it and this was the result: After the bottle was cut, I sanded the edges until they were smooth.  Then it was time to make a windchime! I wanted a nice soft sound, so I found this wooden egg.  Two holes were drilled into either side and metal eyes were screwed in. I thought about glass pieces, but we can get some pretty strong winds around here and I didn't want glass shards flying through the air! Next came the chain and key rings. I'm loo

Homemade Bagels

Image
We've taken a turn toward healthier eating around the Cottage and that means eating foods with less ingredients.  Have you ever looked at the ingredient list on a loaf of bread or a package of bagels?  It's a little scary..... since we have a bread machine, w e decided to start making our own.  Today, I'd like to share our recipe for making bagels that taste so much better.  Let's get started.... The ingredients are quite simple: Start with the dry ingredients first: 3 C  all-purpose flour 2 tsp.  yeast 2 Tbsp. honey or sugar 1 & 1/2 tsp. salt 1 & 1/8 C warm water Add them to the bread machine and let it do its thing! When the dough is done, I let it rest for a minute on waxed paper. Then it is cut into 8 (kinda) even pieces: Each piece is rounded into a ball: With my thumb, a hole is made in the middle: And the bagels are placed on a floured baking sheet. They are covered with a towel and placed in a 200 degree ov

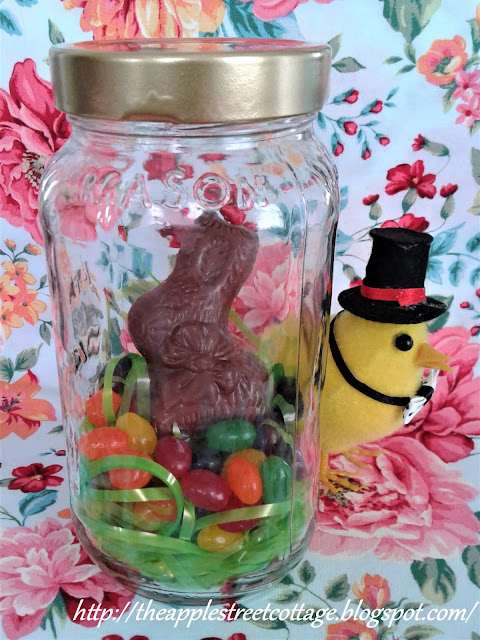
Easter Basket In A Jar!

Image
   If you're looking for an Easter Basket Alternative, I've got the perfect solution. Easter Basket in a Jar This idea is perfect for your grown children, spouse, or as an Easter dinner/party favor.  Here's how to make one: Start with a recycled jar.  I used this one: The jar was washed, label removed, and the lid sprayed with gold paint.  A chocolate bunny, jelly beans, and Easter grass were purchased, and we were ready to go! A handful of grass was pushed into the jar. The chocolate bunny was place on the grass. Jelly beans were sprinkled around the bunny. The lid was screwed back on and the jar was finished! Then I decided to add some ribbon! There are many variations for this idea.  Chocolate eggs, Peeps, a gift card, or cash could be added to the jar.  It all depends on how much you want to spend.  Which brings me to the cost: Chocolate Bunny:  $0.98 Jelly Beans:                  1.98 Easter Grass:                  .38 Jar: