Posts

Showing posts with the label Christmas Ornament

Upcycled Scrabble Tile Ornament

Image
Hello, Friends!  It's December and the holiday crafting is in full-swing. I'm all about the upcycle DIY projects and here's a cute one for you!   Today, I'm using Scrabble tiles to make an ornament for the tree.  I've made them before using paint stirrers  and there was the Grinch ornament .  Incredibly, I still have a bag full of Scrabble tiles, so let's get started on a Santa ornament. This post may contain affiliate links. I pulled out 2 things:  scrabble tiles that spelled 'Santa" and some little Santa hats. Do the hats look familiar?  Yes, they are the same ones I used for the Grinch ornament !  They must be multiplying in the box since I still have a bunch of them! Anyway, I started gluing the tiles together along the edges.   Once glued, they were set aside to dry.   For a little more stability, I glued a craft stick to the back. Once everything was dry, the Santa hat was attached to the edge. Some ribbon was glued to t...
Mini Tart Tin Ornaments

Image
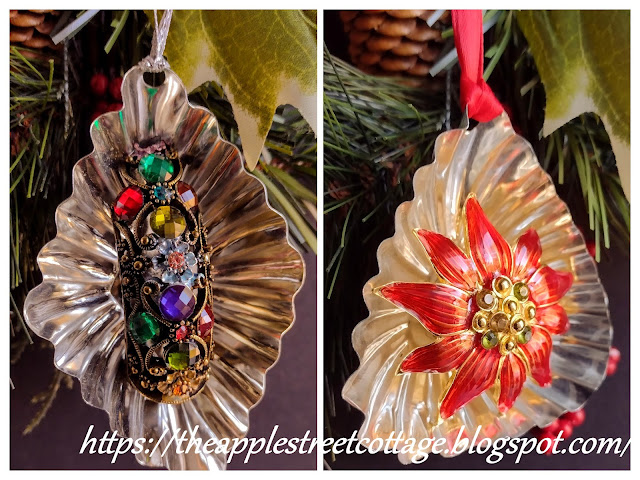
Thanksgiving is upon us and Christmas, well, you know, it's been in the stores since August!     I've been trying to decide what to do with a collection of mini tart tins found over the summer at an estate sale.  At first, I thought I'd make a wreath and even though I had a bag full of them , it would be a small wreath.  Plan B?  Make some ornaments!   I started by punching a hole in the top using my Crop a Dile Big Bite. To decorate, I pulled out my box of vintage jewelry and started sifting through it.  There was a bracelet in pieces that I saved - knowing I'd find something to do with them.   Today was that day!  I picked the piece that was the best fit and dipped the edges in some E6000. I placed it in the tin and left it to dry.   Some silver ribbon was looped through the hole and the ornament was done. How's that for quick and easy? Next came the poinsettia pin.  I removed the block of wood from a mini bott...

Vintage Satin Ornament

Image
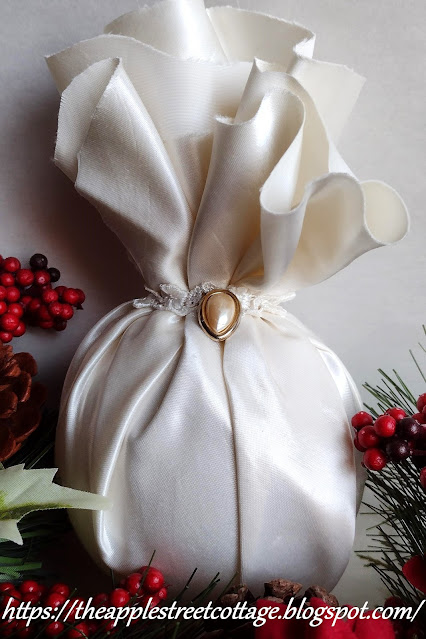
November is here and, for many of us, our thoughts turn to the holidays.  If you have scraps of fabric taking up space I have the perfect way to use them and create new ornaments for your Christmas tree.   It's time once again for  The Sustainable Pinterest Challenge , a group of bloggers who are challenged to recreate a pin from Pinterest focused on sustainability. Many thanks to  Julie from Sum of Their Stories   for hosting.  This month we are sharing something 'Christmas'.  My inspiration came from this pin but I decided to 'glam it up' a bit with some vintage satin.   It all started with a clear plastic ornament from the dollar store. It came with a nice silver cord that could be used for hanging. Cut a square of fabric large enough to go around your ornament.  This was a piece of satin from a vintage wedding gown.  I can't give you a size since it depends on the size of your ornament.  Wrap it around the ornament and...

Jute Twine Ornament

Image
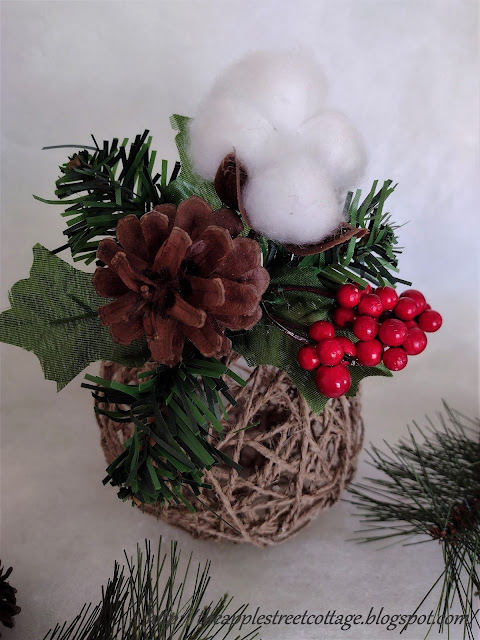
It's November and the holiday crafting is in full swing!  Today I have an easy, inexpensive ornament for you to make.  It can be a little messy, but, trust me, it's easy! Welcome back to Ten on the 10th - a group of bloggers sharing ideas and inspiration for under $10.  This is a Blog Hop so everyone participating will be listed at the end of this post.  The theme for this month is 'Ornaments' so  let's get started! Here are the basics for this project: White glue (that dries clear), jute twine, and some balloons. Before we go on, let me say I tried to find water balloons since they are round and small.  In the fall, they were nowhere to be found, so I went with a bag of 15 12" balloons from the dollar store. ********** Blow up your balloon to the size you want, tie it off, and add a small string for hanging.  Your ornament will need to hang during the drying process. After adding the glue to a container, I mixed it with water - 2 parts glue to 1 part ...

Grinch Ornament - Christmas in July

Image
  Christmas in July continues with another ornament for your tree. I've been spying these Grinch Ornaments on Pinterest for quite a while and decided it was finally time to make one.   I never saw any instructions, but, let's face it, how hard can this be?  Let's get started. I had everything I needed:  scrabble tiles, a rack, and the little Santa hat - yes, I used them for cards one year and had some left over.  I also had craft paint and spray sealer. Notice, I drilled 2 holes in the rack for hanging. The first step was to give everything a coat of white craft paint to act as a primer. Keeping the paint out of the letters was difficult, so while they were still wet, I used a toothpick to remove as much paint as possible. After two coats of 'Grinch Green' and cleaning out the letters, a Sharpie was used to trace the letters in black. The rack, after receiving the same paint process was ready for hanging.  Fishing line was threaded through and knotted....