Posts

Showing posts from 2021

Gift Wrapping - The Upcycler Way!

Image
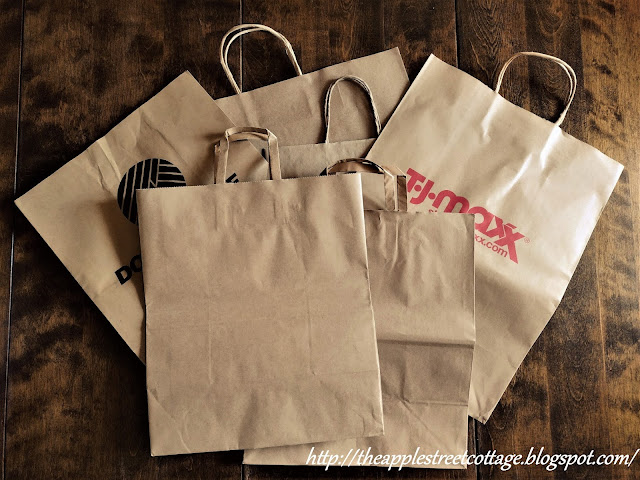
  December is here, the shopping has begun, and the wrapping can't be far behind.   Today I have the perfect way to wrap gifts without buying any wrapping paper at all.  But first, a little background.   Our state passed a law in 2020 banning plastic bags.  It's called the Bag Waste Reduction Law.  If you're really interested, you can Google it, but gist of it is there are no more plastic bags being distributed by stores.  You can bring your reusable bags for shopping or get a paper bag from the store.  We use reusable bags for groceries, but most other stores provide you with paper if you don't have a reusable one.  I've acquired a few and decided they were going to be upcycled into Christmas gift wrap! Even bags with writing on them can be used.  Just cut out the bottom, open it up, and place the writing facing up. This bag happened to be perfect for this box, so I wrapped it in the same manner as regular wrapping paper. Time to make it pretty with some grosgrain

Sparkle & Glam Christmas Tree

Image
This project got it's start last Spring at an Estate Sale.  No one knew what they were, but I knew I could do something with them, especially that one that one with the arrow pointing to it. To me, it said, 'Christmas Tree' and that's what it became.    W elcome back to the 'Do It Over' Designers blog hop.  We are a group of bloggers who love to recycle/upcycle/DIY.  I'm happy to host this hop and I hope you'll visit everyone to see what they have to share with you.  Their links will be listed at the end of this post. After some research, we came to the conclusion that I had purchased some wooden bobbins from an old textile mill.  You can guess the purpose of the giant staple (that was not coming out - no way, no how!) Since I have quite a collection of vintage costume jewelry, I decided to go with a 'glam-look' for this makeover.  The first step was to give it a coat of silver spray paint.  I also included a few pieces of jewelry I was thinking

'No Yarn' Loop Yarn Christmas Trees

Image
  That's right, my friends they are Loop Trees and there isn't a bit of yarn in them! I'm back with another crafty project that is made with a mop from the dollar store.  If you missed the last two projects, be sure to check out the Five Little Ghosties and The 'Sweater-Look' Pumpkin .  You'll also see the mop I used. Let's move on to the trees and how they were made beginning with the loop tree on the right. You will need a mop and a styrofoam cone.  After removing the mop strands, begin cutting them in 3-inch lengths. I honestly can't tell you how many you'll need since it depends on your cone.  Just cut a bunch and go from there. I began attaching the loops on the cone with a little overhang on the bottom. In the interest of full disclosure, I started putting the hot glue on the cone and discovered it melted the styrofoam.  Of course it did - Silly me!  Then I put the glue on the ends of the loops first, pressed them on the cone, and had much mor

Jute Twine Ornament

Image
It's November and the holiday crafting is in full swing!  Today I have an easy, inexpensive ornament for you to make.  It can be a little messy, but, trust me, it's easy! Welcome back to Ten on the 10th - a group of bloggers sharing ideas and inspiration for under $10.  This is a Blog Hop so everyone participating will be listed at the end of this post.  The theme for this month is 'Ornaments' so  let's get started! Here are the basics for this project: White glue (that dries clear), jute twine, and some balloons. Before we go on, let me say I tried to find water balloons since they are round and small.  In the fall, they were nowhere to be found, so I went with a bag of 15 12" balloons from the dollar store. ********** Blow up your balloon to the size you want, tie it off, and add a small string for hanging.  Your ornament will need to hang during the drying process. After adding the glue to a container, I mixed it with water - 2 parts glue to 1 part water.  D