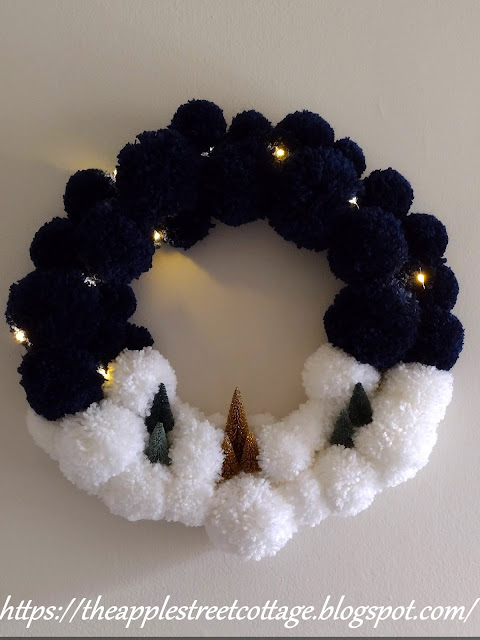
Posts

Showing posts from 2023

Spring Picket Fence...and a Bunny!

Image
This post may contain affiliate links. We got a foot of snow the other day.... The snowbanks are impressive ... And Spring is only 4 days away! So, I guess we should get started on some Spring crafting! But, before we get into it, let me welcome you to the  Creative Craft Hop  hosted by Sara from  Birdz of a Feather .   If you just came from Donna @ Modern on Monticello ,   welcome to the Cottage!  At the bottom of this post I'll direct you to the next stop on this hop, but be sure to visit all of the other stops too for some amazing inspiration. They will all be listed.....o n to today's project: Here's what you'll need: * Paint sticks * Chipboard - or bunny wood cutouts * Felt *Burlap * Craft paint * Glue * Faux greenery * Pom Pom/ Pom Maker *Ribbon *Jute Twine * Hot glue gun Start by making your fence with 8 paint sticks and some glue .  I trimmed 2 of them as the cross pieces.  After the glue dries, paint the fence white with your craft paint. You used to be able t

Bird Cages and Candles

Image
  This post may contain affiliate links. I am long overdue in sharing my birdcages.  There are only two, but I always have an eye out for a new one (or two) since I love decorating with them.  It's a quick post, since I injured my back and sitting at the computer is painful - but more on that later..... There's just something about candles on a winter night.  This birdcage has been in our home for over 10 years.  For the longest time, it housed faux birds and everyone who came into the house thought they were real.   As you can see, the most recent inhabitant is a set of candles.   They are flameless and are controlled with a remote.  I love the fact that they are real wax and the flames are very realistic.   My other birdcage was the result of an upcycled Ashtray Stand.   One of my favorite projects. Here it is decorated for winter: A few pinecones and some faux greens are a nice transition from the holidays to winter. Here's a quick video of it last Fall: Love a flickerin

Faux Tile Heart

Image
This post may contain affiliate links. We've all seen them.  The faux tiles at the dollar store.  Over the holidays I saw so many cut into the shape of a Christmas tree, but my thoughts moved ahead to Valentine's Day sooo, here we go! These faux tiles have an adhesive back and since they are pretty thin, I cut a heart from chipboard , using my Maker , to give it more stability.   It was placed on the back (the adhesive side) of the tile. Using an craft knife on a cutting mat , the heart was cut out. Easy peasy, right?  WRONG!  When I turned it over I discovered the adhesive sheet wasn't stuck to the back of the tile! WHAT? Here's a little PSA.  The adhesive backing only sticks to the outside edge of the tile.  Once you cut a shape (that doesn't include an edge) your tile has gone 'free-range'!  Take another look: The other side of the adhesive sheet was definitely sticking to the chipboard, though. On to Plan B: Peel the adhesive sheet off the chipboard. It

Measuring Spoon Rack

Image
  This post may contain affiliate links. Do you have a set of measuring spoons similar to these? Do you end up losing one (or 2) when you take them off the ring?  Or, if you keep them together, are you constantly spinning to find the correct spoon?   If this sounds familiar, I have the solution.   W elcome to the 'Do It Over' Designers blog hop.  We are a group of bloggers who love to recycle/upcycle/DIY.  I'm happy to host this hop and I hope you'll visit everyone to see what they have to share with you.  Their links will be listed at the end of this post. The solution begins with a piece of pallet wood.  If you don't have any pallet wood, no worries.  Any random board will do! Start by sanding and then painting your board in your favorite color.  I used a chip brush and craft paint . Since I wanted some of the grain to show through, I took a damp rag and wiped off some of the paint while it was still wet. While the paint dried, I opened up Design Space and creat