Posts

Showing posts from November, 2023

How to Create A Unique Jewelry Tree
Image
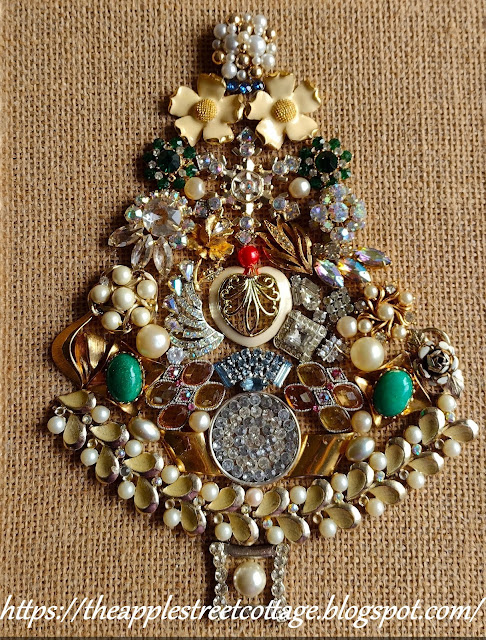
  It's Thanksgiving weekend and the Holidays are here!  Today I have a Christmas idea that's been around for quite a while, but I put my own little twist on it.  Read on my friends, and tell me what you think.   W elcome to the 'Do It Over' Designers blog hop.  We are a group of bloggers who love to recycle/upcycle/DIY.  I'm happy to host this hop and I hope you'll visit everyone to see what they have to share with you.  Their links will be listed at the end of this post. This post may contain affiliate links.  For years, I've seen jewelry trees on velvet.  I thought they were beautiful and always wanted to make one.  I even bought some velvet and played with tree designs on it, but it never really 'spoke' to me, so I ended up putting it all away and temporarily forgetting about it.   Then I saw these burlap canvases and it hit me.  That was the background for my tree!  The first thing I did was cut a piece of chipboard and glued it in the center. 

Fairy Light Pom Pom Wreath

Image
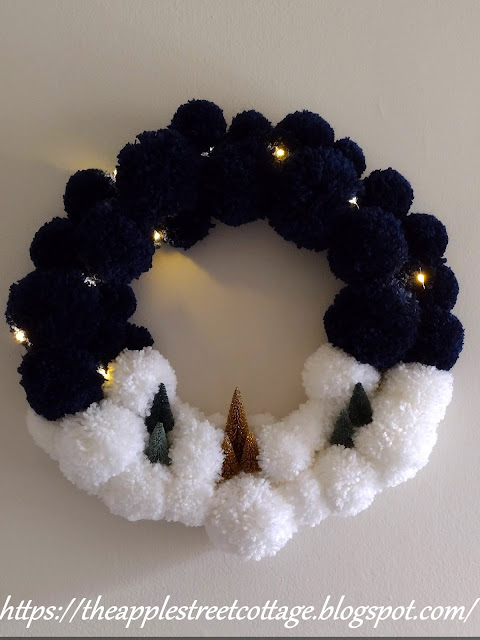
Even though I don't start decorating for Christmas until Thanksgiving weekend, I certainly start preparing and crafting for it!  Let me show you an easy way to create a beautiful wreath for your home.  This post may contain affiliate links.  Here's what you'll need:  wire wreath form 2 skeins of yarn - blue and white Pom Pom Makers scissors string of lights small bottle brush trees and whatever else you want to use to decorate your wreath Welcome to the  Creative Craft Hop  hosted by Sara from  Birdz of a Feather .   If you just came from Jenna @ The Painted Apron ,   welcome to the Cottage!  At the bottom of this post I'll direct you to the next stop on this hop, but be sure to visit all of the other stops too for some amazing inspiration. They will all be listed. Let's make a wreath! Start by making your pom poms.  For this wreath, I made the following in blue:  8 small, 8 medium, 5 large, and 4 extra-large pom poms.  In white, I made:  6 small, 4 medium, 4 large,

Easy & Inexpensive Thanksgiving Place Cards

Image
 It's November and before you know it, it will be time for turkey!  How about getting ahead with preparations for the big day with some place cards that you can make in an afternoon?  Read on! All you need are a few simple supplies: This post may contain affiliate links.  These cute chalkboard tags: Some pretty paper straws: Both found at the dollar store. Add a pair of scissors, a hot glue gun , chalk (I used vinyl) for the names, and some embellishments. Start by cutting 2 - 3" pieces from a paper straw and gluing them together at an angle. Cut another 2" piece and glue it across the two pieces you just glued together toward the bottom leaving a little space for 'feet'. Next cut another 3" piece and glue it to the first two so it forms an easel. Cut a small section off the last piece so the easel will tip back just a bit. To hide the glue at the top, I added a small bit of Bittersweet. The chalkboard tags come with a small clothespin on the back so I used