Not Just an Ashtray Stand
As soon as I laid eyes on it I knew what this sad little ashtray stand could become, and I had ALL of the pieces to make it happen. How often does that happen?

Welcome to the 'Do It Over' Designers blog hop. We are a group of bloggers who love to recycle/upcycle/DIY. I'm happy to host this hop and I hope you'll visit everyone to see what they have to share with you. Their links will be listed at the end of this post.
This is what I found:
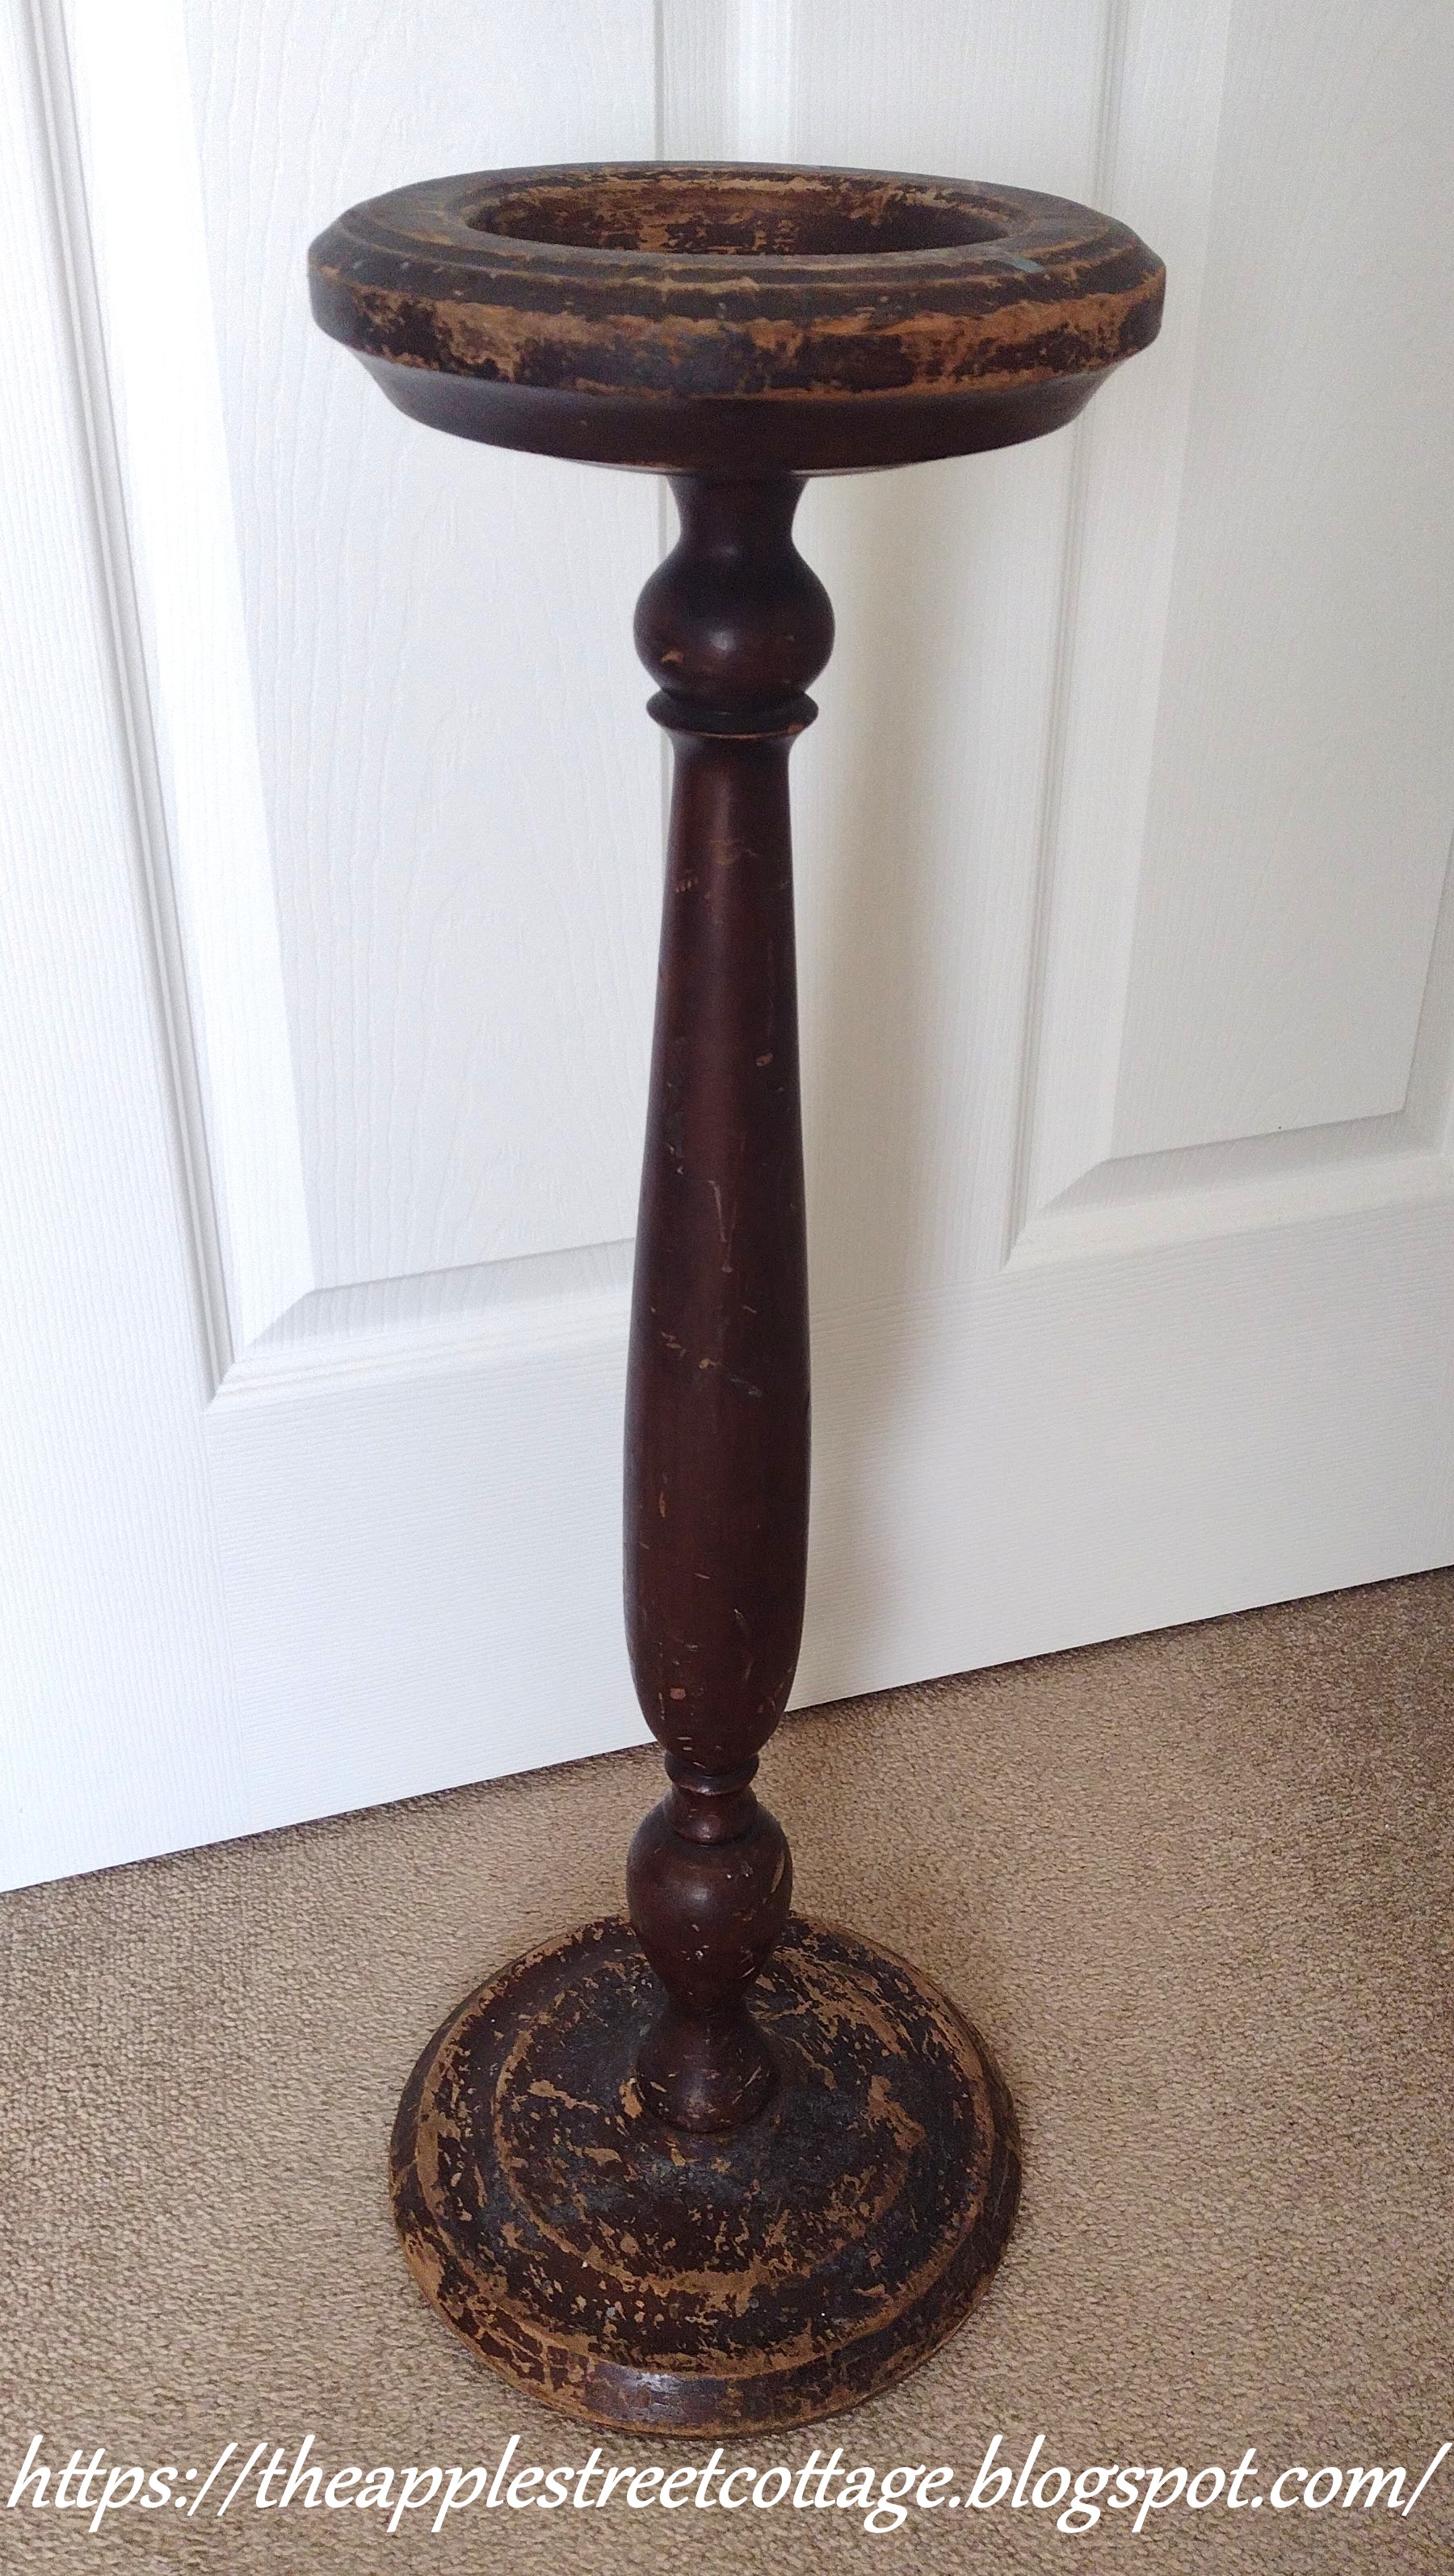
Dirty, damaged - you know, the usual things I find!
As I started sanding, the burn marks became more apparent:
The glass ashtray was either broken or lost and someone decided to put out their smokes on the wood. Ugh! After the whole thing was sanded, it was sprayed with shellac. I was going to paint it white and no one wants 'bleed marks'.

Out came the white chalk paint. (Just a sidenote, everything was sealed with a clear spray after painting.)

The plan? Make this a side table for my balcony and a stand for a bird cage. Let's start with the table.
I had two wood circles left from a previous yard sale.

I sanded off as much of that number as I could.

Then sanded the edges:


The edge needed finishing, so some clothesline rope was added with E6000.

When everything was dry, the trick was to find the center of the circle and then the distance for the ashtray sand to be attached. Here's what I did:

I used a piece of string, estimated where the center was, and moved it around the edge. Then I measured across the ashtray stand:

I was using velcro to stick the top to the stand so I (sort of) measured that distance out from the center of the top. (You all know I really can't measure, right??) 😉
I put tiny dabs of toothpaste on the velcro that was on the bottom of the tabletop and pressed them down on the stand so I'd know where to place the matching piece of velcro on the stand.

Placed it on the stand, where it left a mark:

The top and bottom were lined-up and the two pieces were attached.

I started with three pieces of velcro and later added more for stability and strength.
The table was complete:

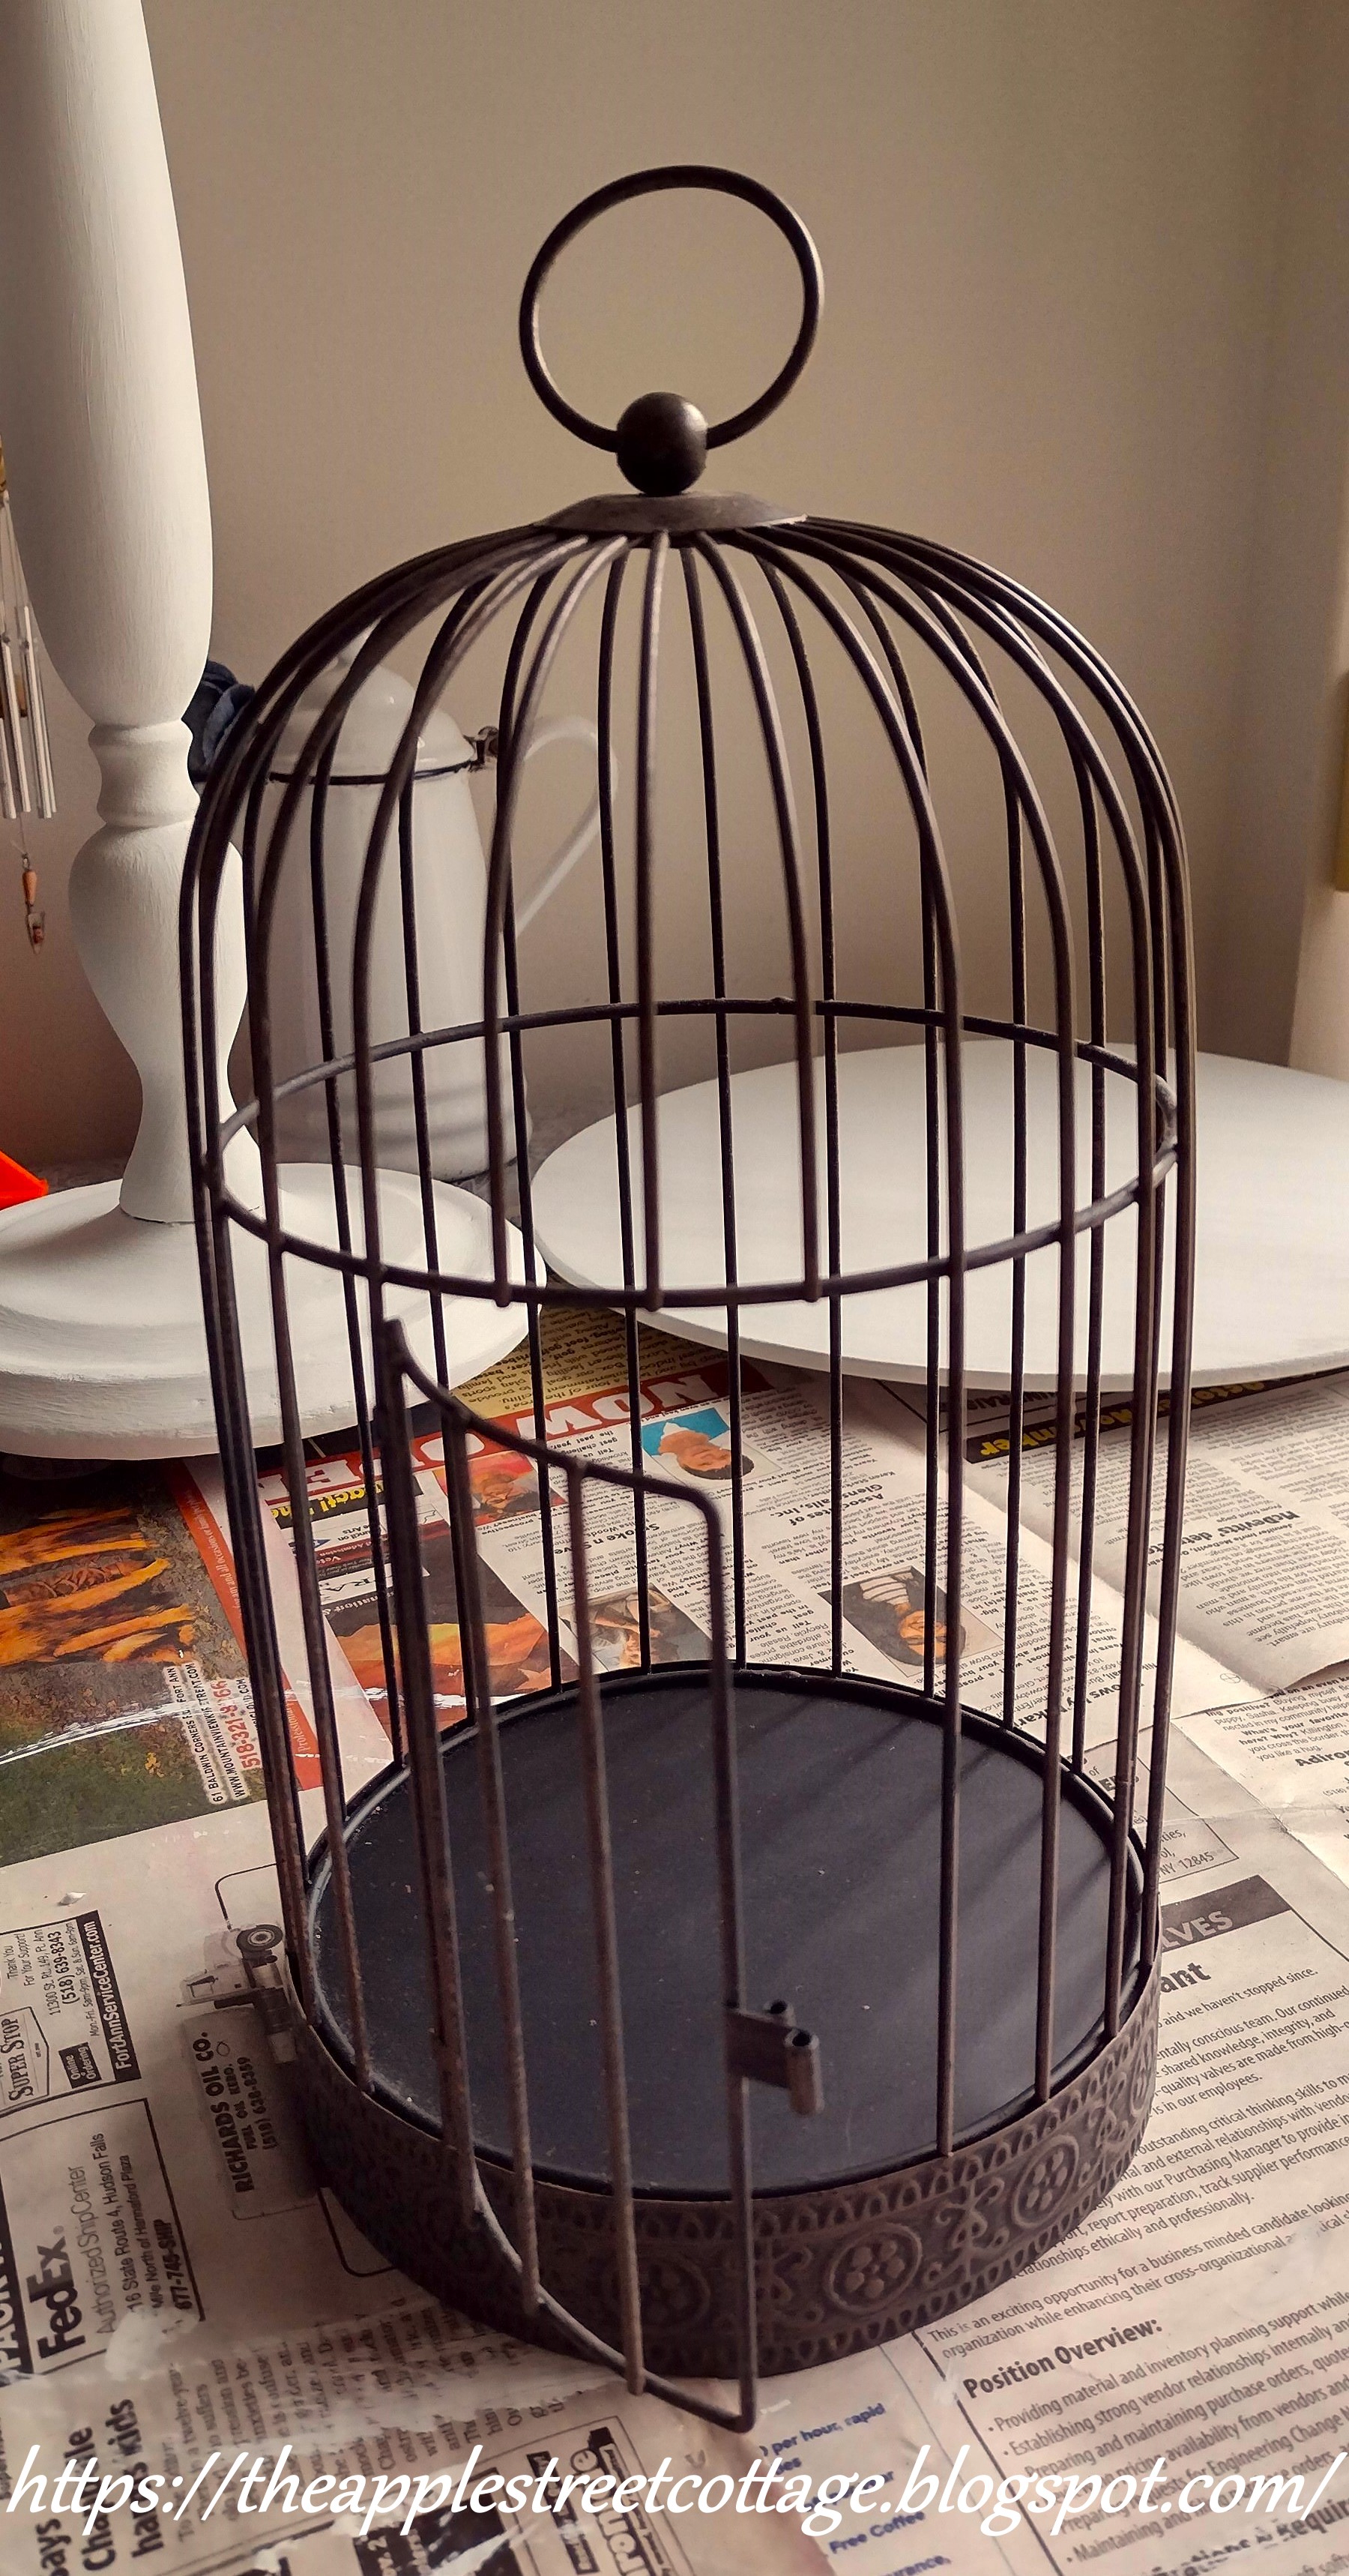
But, the project doesn't end there. I had this sweet little bird cage that I found for a dollar at a yard sale last year. Here was my chance to use it!
It was painted white...

...and was decorated with a silk flower swag that I've had for 30 years. I am not kidding! The flowers still look perfect and I was not throwing them out - so glad now!

I needed something the right size to fit in the base of the ashtray and reach the bottom of the birdcage. As they say, 'necessity is the mother of invention', so I grabbed the cardboard tube from a roll of plastic wrap that we just emptied and cut it to fit.

Out came the velcro again:

A piece for the top and another for the bottom. The matching piece on the bottom of the birdcage and we now have a birdcage on a stand:

In the interest of full disclosure, that cardboard tube is not very sturdy. I am currently on the look-out for something else (like a block of wood) to give it more stability.
There you have it. Two projects from one ash tray stand!
I hope you'll pin, share, comment, and follow. If you click on those 3 little lines at the top left of the blog (on the Home page), you'll see where to find me...or click on the icon below to share.


Before you run off, don't forget this is a blog hop and the rest of the team has some amazing upcycle/recycle/did-it-over projects to share with you. The links are all listed below:
Featured at:


Love this idea, I'd never have thought of it. Brilliant!
ReplyDeleteEnjoyed our hop today!
Rachel - Tea and Forget-me-nots
Thank you, Rachel. Somehow, I just knew what I'd do with it as soon as I saw it!
DeleteGosh, I just gave away that very same birdcage because I just couldn't find room for it lol! Turned out beautiful Ann!
ReplyDeleteOh no! This birdcage has been sitting in my closet for a year...I had something in mind and the ashtray stand was just what I needed.
DeleteAnn, you have done it again, what a (ok, two!!) transformation. I love what have created with your treasures...and 30 year old flowers? Fabulous!! Thanks for hosting the hop!! xo
ReplyDeleteThanks, Kim. I can remember every place I've used those flowers too! lol
DeleteThis is such a great idea! I have an old ashtray stand in the basement that was my grandpas and I didn't want to get rid of it. This is a great way to incorporate it into our home. Thank you!
ReplyDeleteThank you, Maria. I hope I gave you some inspiration for your grandpa's ashtray stand!
DeleteWow, Anne! This is so cute and adorable! You really outdid yourself with this update! Your creative ideas for each piece came together perfectly to make this lovely stand! Very impressive!
ReplyDeleteThanks, Gail. I've been on a bit of a mission to use the things I have in my stash, especially since I don't have room for many new things right now!
DeleteVery clever - love the birdcage!
ReplyDeleteThanks, Patti. It was marked a dollar - how could I resist??
DeleteI love that your flowers are 30 years old - ain't broke don't fix it! You've found 2 ways to use this grotty old ashtray stand that most of us would have just walked past or thrown away! Just goes to show :-)
ReplyDeleteI truly am a saver, Julie - it comes from 28 years of teaching! As for the ashtray stand? This was one of those times I knew instantly what I was going to do. Don't you love it when that happens?
DeleteVery nice, love that you got two projects out of one!
ReplyDeleteThanks, Tania. It definitely was a bonus!
DeleteThe old toothpaste trick...!
ReplyDeleteThat's one I hope to remember!
It's a good one, Michele!
DeleteIt's amazing how you can envision something new when you see a item. Very cool!
ReplyDeletewww.chezmireillefashiontravelmom.com
Sometimes, it just happens, Mireille, but not all the time! Thanks for stopping by.
DeleteAnn, I couldn't have imagined a more interesting and eye-catching transformation than this one!!! That ashtray was certainly meant for something else :)
ReplyDeleteThank you so much, Maya. It was fun seeing my vision become reality!
DeleteThis was a flash from the past -- I remember that my grandparents had those wooden ashtray stands in their home (and metal ones on their porch). Your makeovers for the ashtray stand and the birdcage are super! The projects turned out great, and you now have two attractive and useful decor pieces.
ReplyDeleteThank you for participating in Talent-Sharing Tuesdays Link-Up 26.
Carol
www.scribblingboomer.com
I also remember them, Carol. That's probably why I was drawn to it!
DeleteOh Ann I smiled when I read your center measurement string trick because I do the same thing (a tip learned in a furniture painting class). I love both of your ideas for upcycling a wooden ashtray stand but the pretty bird cage stole my heart!
ReplyDeleteThanks, Marie. I'm not sure anyone taught that trick to me, I just wasn't sure how to explain it! I think the bird cage is my favorite too...even my husband commented on how much he liked it.
DeleteAnn you always find such great treasures to work with. I didn't know about the toothpaste trick but will definitely be using that tip for my next similar project. All of it turned out beautifully!
ReplyDeleteThank you so much, Donna. The toothpaste trick is a good one to have in your toolbox!
DeleteWhat a brilliant recycle. I have passed on ashtray stands in the past; I won't now. As a retired occupational therapist, I HAD to smile at your use of Velcro; we used it when making arm splint straps. I've used it to hold small pictures on the wall, as brushes for dollhouse scrub brushes, and small children's doll dress closures. I can't keep house without it! Once I used Blue-tak poster putty to hold a small shelf on a wall so I could drill level holes in the wall alone; I marked the center of the bump with a pencil. Watching me run across the room before the shelf fell off the wall coulda been a hit on America's Funniest Videos!
ReplyDeleteThank you, Kathleen. I honestly don't know how people survived before the invention of Velcro! lol
DeleteI used to use blue-tack as a teacher and I can't imagine trying to use it to hold up a shelf...I would have paid to watch that!
Thank you for sharing this with Your Moment Blog Hop!
ReplyDeleteI'm happy to share, Julie!
DeleteAnn, this turned out lovely! You find (and keep) the coolest stuff and make such pretty things from it. Thanks for sharing with Creatively Crafty #ccbg :)
ReplyDeleteThank you so much, Lydia. I love to see what I can do with things that are destined to become trash!
DeleteLove this! This piece will be so beautiful and useful year-round, changing the decor inside the birdcage. I cannot believe you found it for a dollar! I'll be featuring your post tomorrow on Crafty Creators & on social media over the next week. If you ever want to add another stop on the blog hop, let me know. I'd love to join you guys!
ReplyDeleteThanks, Niki. I'm looking forward to decorating it for the upcoming seasons!
DeleteAnother fabulous find and transformation. Featuring when my party opens tonight!
ReplyDeleteThank you so much, Carol and thank you for the feature!
DeleteWhat great ideas! Love them both. Thank you for sharing them with us at Farmhouse Friday. I'm featuring this tomorrow. Hope you link up again soon. pinned!
ReplyDeleteThank you, Cindy, I really appreciate the feature and pin. This was a fun project and (for once) I knew EXACTLY what I wanted to do!
DeleteAnn, what a lovely makeover! We miss you over at Tuesday Turn About! We’d love to have you link this up! Hope to see you back!
ReplyDeleteThank you so much, Julie. I will stop by!
DeleteThanks for joining in! Pinned, and I'll be featuring you at this week's party!
DeleteThank you, Julie. I'll be sure to stop by!
DeleteNow that's just the cutest idea! I'm going to be on the look out for an ashtray stand the next time I am out thrifting! Congrats on being featured on Tuesday Turn About - hope to see you at the party this week!
ReplyDeleteThank you so much, Cindy. I love to find unique items and turn them into something useful! Upcycling at its best!
Delete