Posts

Easy & Inexpensive Thanksgiving Place Cards

Image
 It's November and before you know it, it will be time for turkey!  How about getting ahead with preparations for the big day with some place cards that you can make in an afternoon?  Read on! All you need are a few simple supplies: This post may contain affiliate links.  These cute chalkboard tags: Some pretty paper straws: Both found at the dollar store. Add a pair of scissors, a hot glue gun , chalk (I used vinyl) for the names, and some embellishments. Start by cutting 2 - 3" pieces from a paper straw and gluing them together at an angle. Cut another 2" piece and glue it across the two pieces you just glued together toward the bottom leaving a little space for 'feet'. Next cut another 3" piece and glue it to the first two so it forms an easel. Cut a small section off the last piece so the easel will tip back just a bit. To hide the glue at the top, I added a small bit of Bittersweet. The chalkboard tags come with a small clothespin on the back so I used...

How to Decoupage With NO Wrinkles

Image
If you've been visiting the Cottage for a while, you know that decoupage is a favorite around here.  Recently, my friend, Kim asked me if I'd ever heard of the the iron method.  I hadn't, but I learned about it and decided I was definitely going it give it a try.  WOW, was I impressed! Let me show you this technique along with a cute Fall craft... This post may contain affiliate links.  The first thing I did was head to the dollar store where I found a wood acorn cut-out and some pretty fall napkins.   I really love the soft colors in these napkins. You'll need some wood filler (I'll show you that in a minute), Mod Podge , craft paint, a brush, your acorn, napkin, burlap, scissors, sandpaper, and (I almost forgot) a piece of parchment paper..  An iron is also needed, but more about that later! The first thing I did was cut off the tag and fill that hole . Since the napkin was mostly white, I painted the acorn with two coats of craft paint. I didn't paint t...

Candy Corn with Pom Poms!

Image
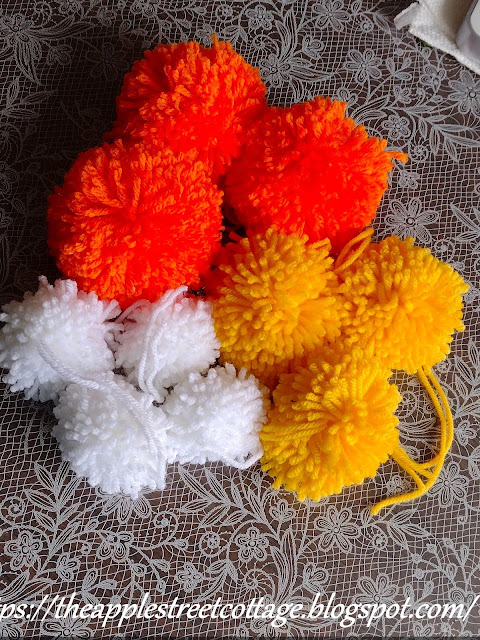
  I have another quick and easy Halloween project for you today and all you need are pom poms.  It doesn't get much easier than that! Welcome to the  Creative Craft Hop  hosted by Sara from  Birdz of a Feather .   If you just came from Jenna @ The Painted Apron ,   welcome to the Cottage!  At the bottom of this post I'll direct you to the next stop on this hop, but be sure to visit all of the other stops too for some amazing inspiration. They will all be listed. Let's get started, shall we?  You only need 2 things: 1.  Yarn in orange, yellow, and white 2. Pom Pom Makers  - these are the ones I have and I absolutely love them! This post may contain affiliate links.  First, make your pom poms.  you will need 3 extra large in orange, 3 large in yellow, and 4 medium in w hite. I made mine while watching TV one evening. Notice they have a tail.   It's important because you will need to tie all 3 orange pom pom to...

The Estate Sale. Auntie B, & "Aunti" biotics

Image
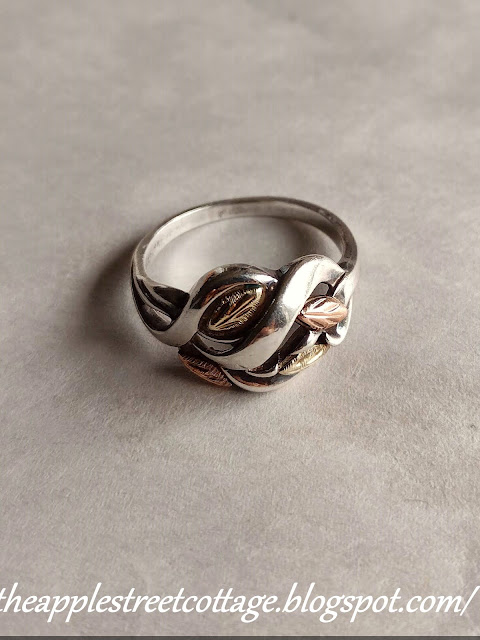
  Two weeks ago there was an estate sale that I'm still recovering from...that's right, recovering !  Pour yourself your favorite beverage and sit back for the story. It all started on a Saturday, and actually there were 2 estate sales.  The first one was a quick 'in & out' and resulted in this pretty little ring for $7. It was a good start to the day! When The Enabler - I mean, my husband and I arrived at the second one, the driveway was full, the garage was full, as was the 3 season room off the garage, and the house!  This was going to be a good one! Right away, I spotted these: There was no price on them, but the woman (let's call her Kathy) holding the sale came out of the house and said I could have them both for $8.  Sold!  She set them aside for me and invited me to keep shopping.   As we shopped, we chatted with her and she told us the story of this sale.  Her Auntie B and uncle lived in the house and she had been working on cle...