How to Makeover a Marketplace Bookcase
For the longest time, my husband and I have said we need a bookcase. Why? Because we have books and, of course, tchotchkes! We scanned Marketplace and plenty of bookcases showed up, but many were not real wood or just too plain. We both wanted something out of the ordinary, not just a plain rectangle of shelves. When this one showed up we thought it ticked all the boxes.
*It was small.
*It was solid wood.
*It was only $35.
*The woman selling it offered to bring it to us!

Welcome to the 'Do It Over' Designers blog hop. We are a group of bloggers who love to recycle/upcycle/DIY. I'm happy to host this hop and I hope you'll visit everyone to see what they have to share with you. Their links will be listed at the end of this post.
This post may contain affiliate links
We started to laugh when we realized how small this bookcase actually was. It's just shy of 5 feet tall and the shelves are only 6 inches deep. The only books going on it are small ones...not exactly what we had in mind, but we rolled with it!
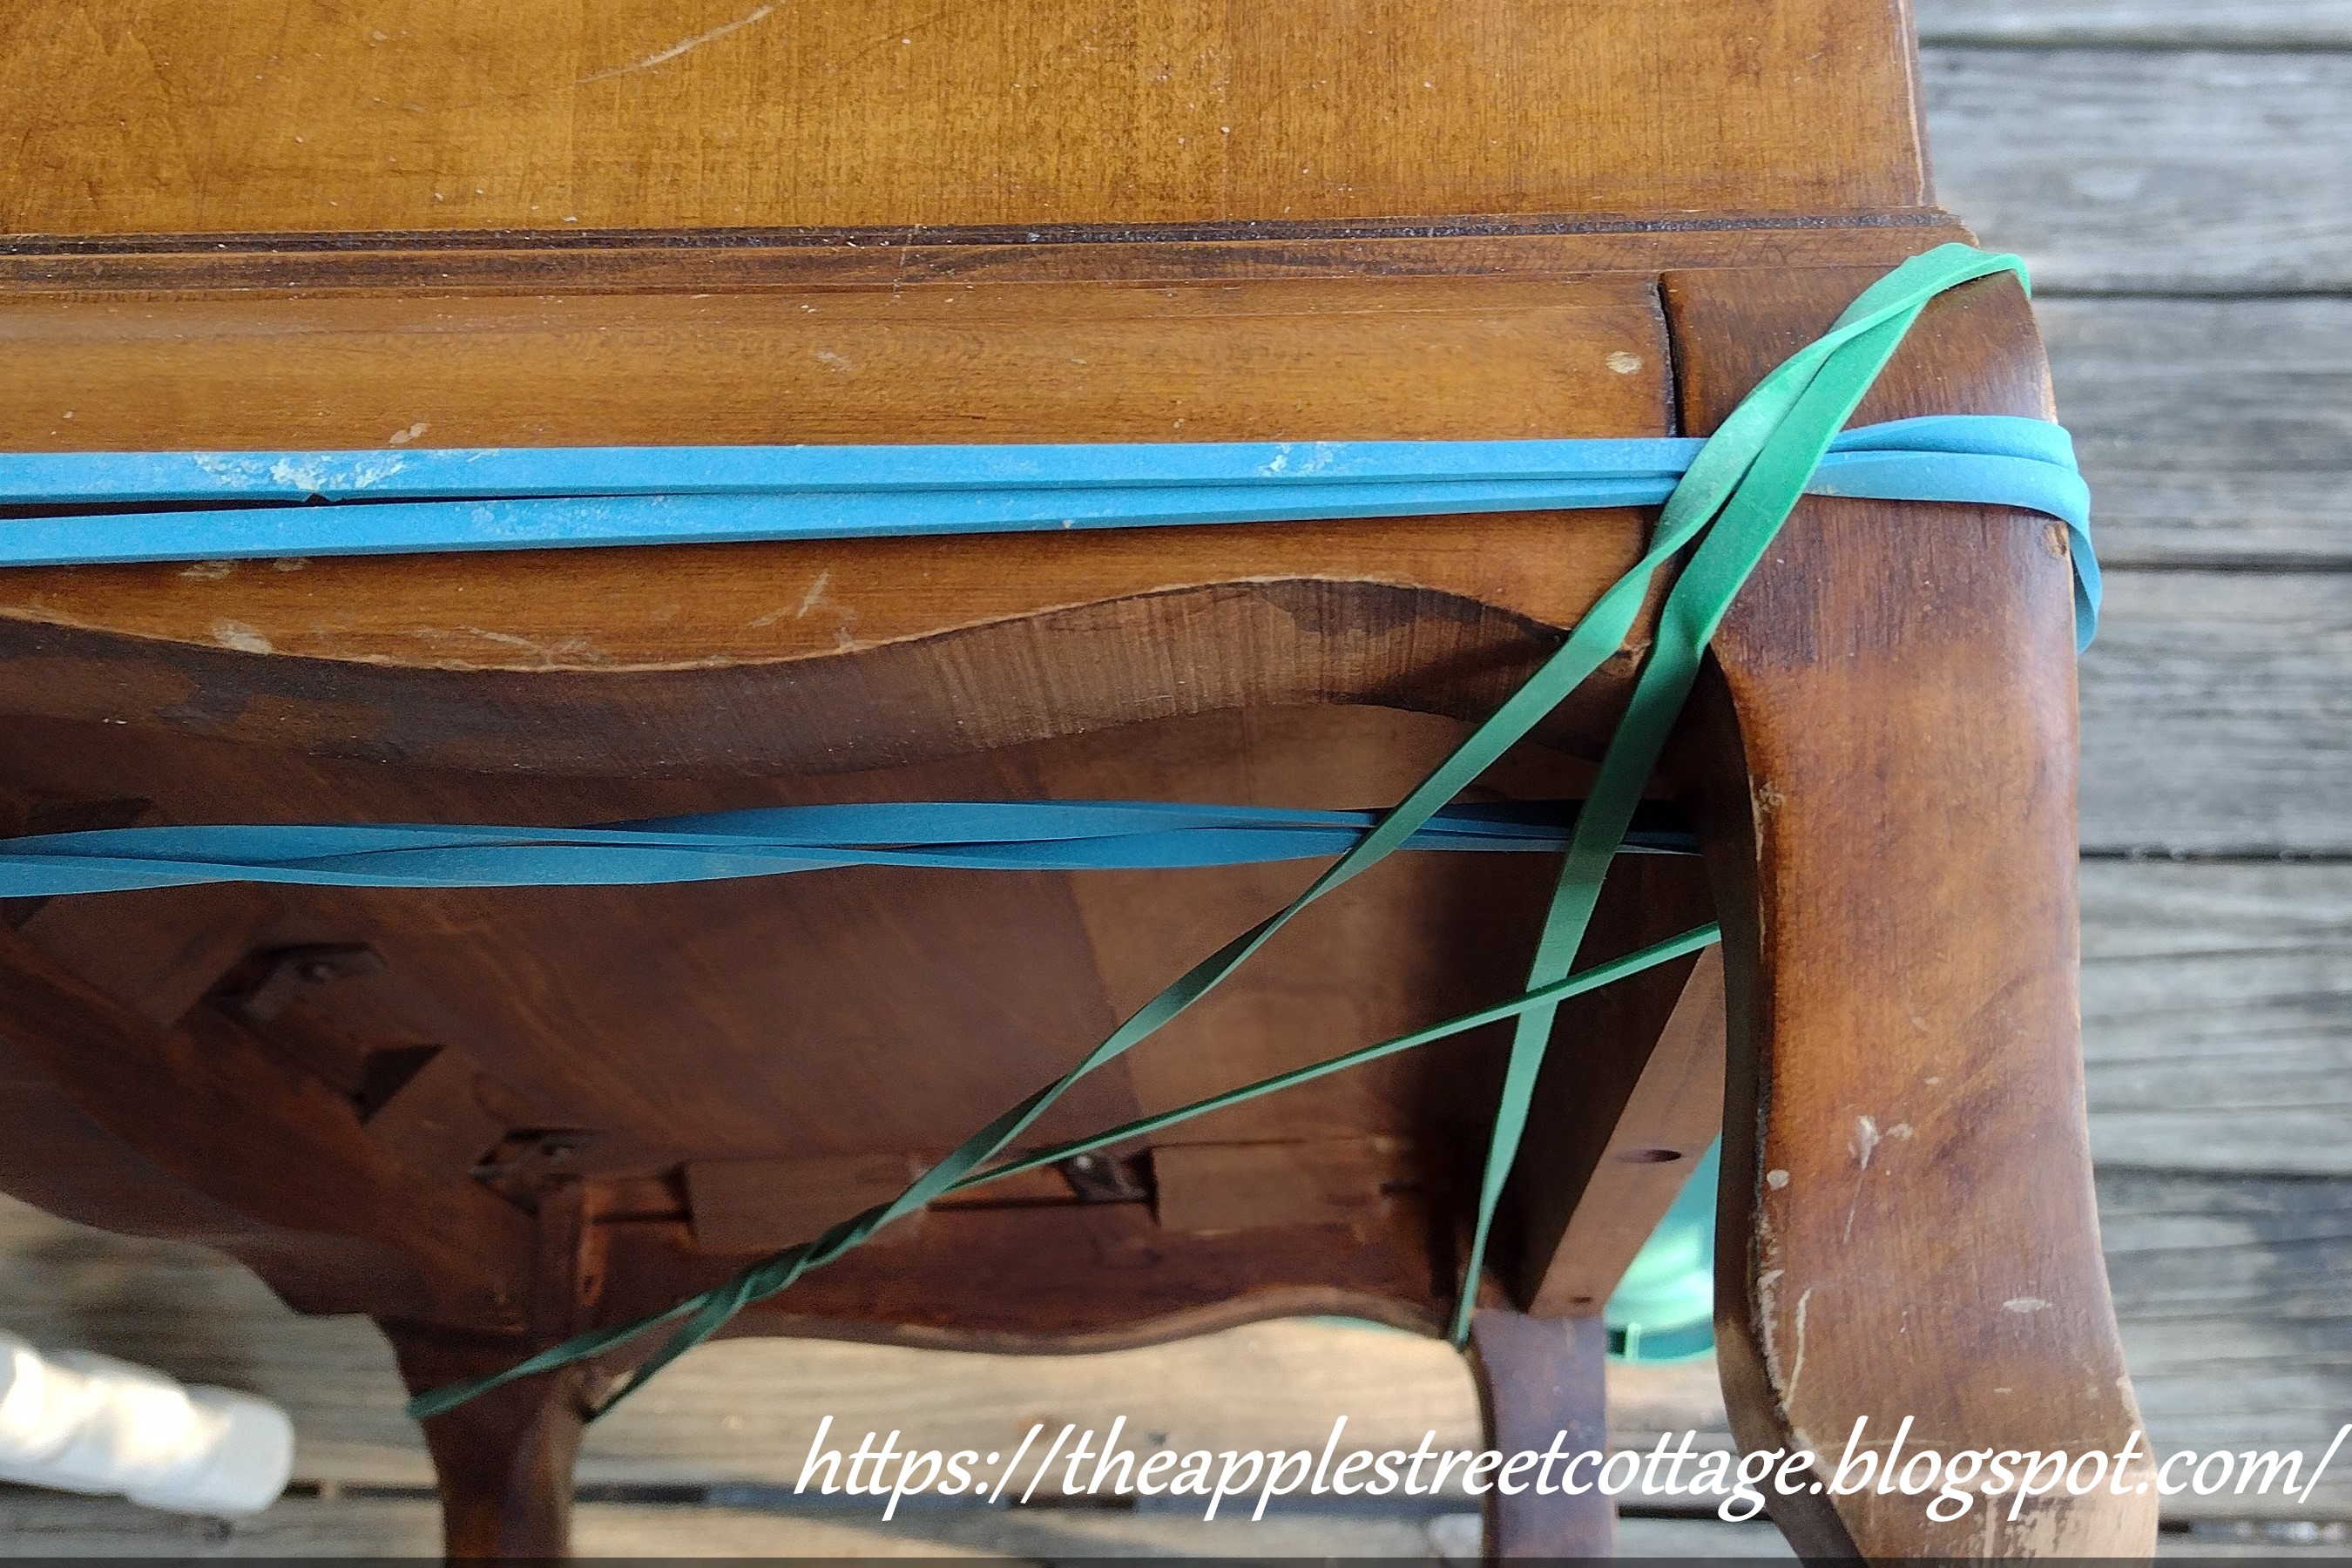
After removing the hardware, the entire thing was cleaned with Murphy's Oil Soap. One leg was a bit loose and my big bar clamp was sitting in the back of the storage unit with lots of 'stuff' in front of it. So it was glued and 'clamped' with big bands. The bands come in various sizes and I've used them on numerous occasions when I didn't have the right clamp. They work great!
Some minor dents were filled with wood filler and the entire bookcase was scuffed with 220 grit sandpaper.

Time for primer! I brushed and rolled the primer on for the first coat. I wanted a heavier coat, so I brushed the entire second coat.

I decided the back of the shelves would be decoupaged and found this beautiful tissue paper.

The paint color was chosen from the tissue paper.

The paint went on beautifully.

This is the brush I use for furniture. It never leaves brush marks!

Two coats of paint:

I left the back of the shelves in primer since they would be decoupaged.

Have you noticed that the color doesn't look gray? No, it's not your computer. In different light, the bookcase takes on a pink or sometimes a beige tone; but when the paint chip is on it, it's a perfect match. Either way, I love it!
Just a side note. We did not remove the back because it was tacked on really tight and we thought removing it would damage it.
Time for decoupage. Using a formula for furniture and a sponge brush the decoupage medium was brushed on.

I started at the bottom and worked my way up, brushing on the decoupage medium and rolling the tissue paper up with my fingers.

Then the paper was smoothed with plastic wrap. When it dried, a second coat was brushed over it and was smoothed.
With the second coat dried, it was time to trim.


Straight out of the 1970's and two of the same. In other words, not a left and a right. When I showed them to my husband, he thought you could just spin one of them...didn't work! HaHa! They are now in my junk box...you never know what they can be become!
I decided to spray paint the metal pulls.

Finally, the little bookcase was done!

I'm really pleased with the result, even if it doesn't look gray!
Well, maybe it does today.
But not later when the light changes.
And we'll see about tomorrow!

How about a peek at the shelves?


I'm thrilled with the final result, even though we still have books that need a place to live...but the tchotchkes are very happy!

Before you run off, don't forget this is a blog hop and the rest of the team has some amazing upcycle/recycle/did-it-over projects to share with you. The links are all listed below:
Featured at:


Beautiful, Ann!! Your tiny bookcase is a real show stopper. The colors in that paper really pop and they're the perfect background to showcase all of your lovely little treasures. I knew this one was going to be good when I caught a sneak peek of it on your fall decor post and it does not disappoint! Enjoy it and thanks for hosting another creative hop!
ReplyDeleteThank you, Kim. When I found the paper, the whole project came together in my mind. Fortunately, it came together in reality too!
DeleteWhat a pretty transformation! I never have luck with decoupage, but you did a fabulous job! So pretty and feminine and a perfect showcase for all of your "littles"!
ReplyDeleteThank you so much, Patti. The books aren't so happy, but the 'little' are loving it!
DeleteLove this, Ann! What an adorable makeover and a beautiful way to update an old bookcase! I love the color and the pretty napkin you chose to decoupage! Perfect to display your momentos!
ReplyDeleteThank you, Gail. The tissue paper was the key to picking out the paint...Gallery grey, or whatever color it decides to be!
DeleteWhat a beautiful little unit you have ended up with. The colour is gorgeous. Isn't it funny how colours can look so different in different lights, this pinky, greige looks really beautiful with those napkins.
ReplyDeletePinky Greige! That's it, Julie! I think I need to call Lowe's and tell them to rename the color.
DeleteSo cute!! I'm glad you went with it even though it was smaller than you originally wanted.
ReplyDeleteThank you Tania. It just means I'll need to find another one!
DeleteOh so pretty now! Wonderful transformation!
ReplyDeleteJenna
Thank you so much, Jenna!
DeleteWhat a fab makeover, Ann! And such a pretty place to keep all your treasures.
ReplyDeleteAmalia
xo
Thank you so much, Amalia. Treasures need to be displayed!
DeleteWhat a transformation! You did a beautiful job.
ReplyDeleteThanks, Anita!
DeleteOften I prefer the before in make overs like this. But not this time. You did a great job with this one!
ReplyDeleteWhat a wonderful compliment! Thank you!
DeleteYou really changed it up! Fantastic. #InspireMeMonday
ReplyDeleteThank you so much!
DeleteAnn, this is stunning! You did such beautiful work.
ReplyDeleteVisiting today from Sunday Sunshine #15
Thank you so much, Paula. It is becoming one of my favorite makeovers!
DeleteThe bookcase looks stunning Ann! I love the paint color, and the fact that it changes throughout the day is even better in my opinion. We have bathroom tile that does that, I am always add pink to it. I love the little birds in the background of the paper, they are a favorite it mine. I like to add photos of our family throughout our home too, you have some wonderful black and whites of your family. I am impressed you found the perfume bottle, and have kept it all of these years. My husband calls me a hoarder (I am not, but I do have a difficult time getting rid of things teehee), but I love keeping certain items with us over the years.
ReplyDeleteThank you so much, Cara. I don't have a lot of family treasures, but the few I do, I hold close.
DeleteYour bookcase is absolutely beautiful! I love the tissue paper you chose. It's looks so gorgeous against the white.
ReplyDeleteThank you so much, Tuula!
DeleteWow! I usually don’t like antique furniture being painted, but yours turned out really nice – – better than the original I think!
ReplyDeleteThank you so much for sharing your project at the Sunday Sunshine Blog Hop!!
Laurie
I usually like to preserve the wood too, but this one said something different!
DeleteWhat a truly detailed guide to repurposing great wood furniture. I love the final product and you've given that bookcase a new lease of life and use. Visiting from #10, 11 & 12 of SSPS #280
ReplyDeleteThank you so much, Julie!
DeleteWhat a beautiful transformation!! You did an amazing job.
ReplyDeleteThank you so much! It certainly has a whole new look.
DeleteWhat a pretty transformation! I love the decoupage background!
ReplyDeletewww.chezmireillefashiontravelmom.com
Thank you. Decoupage can make suck a difference!
DeleteThat is a lovely transformation!
ReplyDeleteThank you, Joanne!
DeleteThis makeover is stunning! Thank you so much for sharing it with us over at the Senior Salon Pit Stop Party!
ReplyDeleteHugs,
Maria @ kraftyplanner.com
Thank you, Maria. I think it is definitely unique!
DeleteThe thrifted cabinet looks wonderful!
ReplyDeleteThank you so much!
DeleteThis is so darling! I love the tissue paper pattern and colors. You did a great job. I'm happy to tell you I'll be featuring this post at Thursday Favorite Things today, starting at 10 a.m. CST. :)
ReplyDeleteThank you so much, Pam. I'm thrilled to have it featured!
DeleteAnn,
ReplyDeleteTrying to comment
It worked!
DeleteBeautiful. I love all of it, including the little mementos you added. Puts a final touch.
ReplyDeleteThank you so much!
Delete