Posts

Just One More Estate Sale....

Image
Update:  See the Winter Scene Light Box HERE .                I'm still working on the other projects, I'll update when they're completed. ....for the season.  I promise...well, maybe!  It all started two Saturdays ago when I sat down and opened up a facebook yard sale page.  I saw the address posted and it was very familiar to me.  Then it dawned on me, this address was my neighbor from when we were between houses and renting.  Lynn was a sweet lady who used to sit on her back porch and watch me work with my jigsaw in the backyard. It was heartbreaking to realize that she had passed away.   This sale was being conducted over two weekends.  It was the second day of the first weekend of the sale and I knew I wanted to buy something to remind me of Lynn.  So I grabbed my hubby and off we went.   Her house, that was built in the late 1800's, was packed with so many treasures:  gla...
Scrabble Tile Ornaments

Image
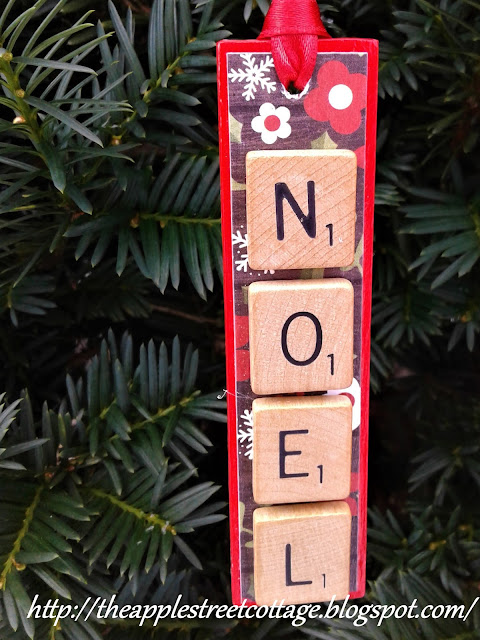
Even though I'm not decorating for Christmas until Thanksgiving arrives, the planning and crafting has begun!  Welcome back, I'm glad you're here.   I've been seeing Scrabble tile ornaments all over Pinterest and have always said I was going to make them someday.  Someday arrived when a friend gave me a bag of tiles and told me to go do something with them.  Gotta love friends like that! So, I grabbed a paint stirrer and cut it down to size. The hole for hanging was drilled and some scrapbook paper cut to size. The edges of the paint stirrer were painted with craft paint. No worries about the middle since it would be covered by Mod Podge and scrapbook paper. Then it was time to sort through  the Scrabble tiles. The letters I wanted were found and glued on with E6000.  When they dried, a ribbon was run through the drilled hole for hanging. It was so easy, I made some more! What homemade ornaments are you making this yea...

Ceramic Christmas Tree - Updated!

Image
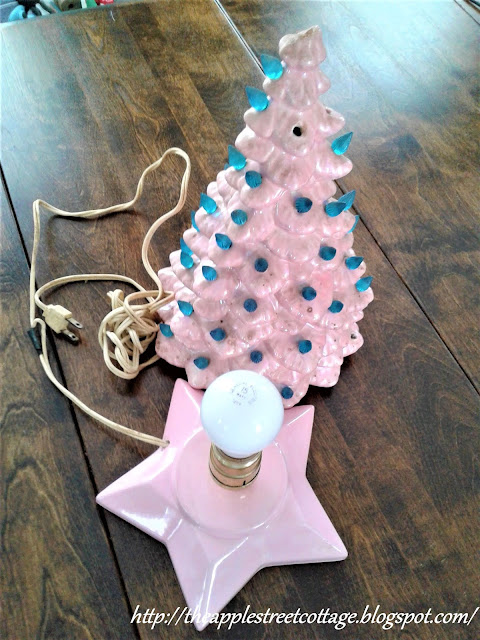
If you've been following me for a while, you'll recall this 'lovely' ceramic tree I found last summer: It had a pink pearl finish. It was dirty. It had fabulous blue lights - not! But it was only a $1.50. This post may contain affiliate links. Did I mention it was dirty?? The first order of business was getting those blue lights out.  Some of them were loose and came right out, but most of them were glued-in.  I was a little concerned about breaking them, but, I got out the vice grips and started twisting. I'm happy to report that all of them came out with a little encouragement.  A few broke, but the small pieces popped right out. The tree went into the sink for a good scrubbing and came out looking like this: Clean, but very pink! Ceramic trees are very popular right now.  I've even seen reproductions of the originals. Since I was never a big fan of the green ones with multi-colored lights, I decided this one would be white.  Off...

Happy Halloween!

Image
Just a quick post because I had a little surgery on my eye this week and I really wanted to introduce Rosie! I found her over the weekend and she REALLY wanted to dress up for Halloween.....so, I improvised with the things I had around the house.  She will have a much more formal introduction in the coming weeks, but, how could I say no to her???? Happy Halloween! To read more about Rosie - her story, her antics, her sassiness, please visit her Page.  Click   HERE .

Natural Wood Pallet Pumpkins

Image
I can't wait to show you this project since this pallet has such beautiful wood.  The colors and textures were amazing and there was no way I was going to hide it. The first thing I did was pick out four boards that were relatively straight, created a pattern to fit, and drew the pumpkins on the boards.  Here's a close-up: My jigsaw made short work of this and in no time I had three pumpkins cut out. All they needed was a little sanding, mostly to get rid of the blue Sharpie lines and it was time to put them together.   I used some strips of wood that I found at a yard sale and drilled a hole through it and into each piece of pallet wood. A screw was attached to each piece and the pumpkin was put together. Each pumpkin was sprayed with a clear coat of Krylon and a jute bow was tied around the stem. You may notice the wood is different in this pumpkin.  I did another set with more of the boards I had laying around. In order to dress ...