Faux Tile Heart
This post may contain affiliate links.
We've all seen them. The faux tiles at the dollar store. Over the holidays I saw so many cut into the shape of a Christmas tree, but my thoughts moved ahead to Valentine's Day sooo, here we go!

These faux tiles have an adhesive back and since they are pretty thin, I cut a heart from chipboard, using my Maker, to give it more stability.

It was placed on the back (the adhesive side) of the tile.

Using an craft knife on a cutting mat, the heart was cut out.

Easy peasy, right? WRONG! When I turned it over I discovered the adhesive sheet wasn't stuck to the back of the tile!

WHAT?
Here's a little PSA. The adhesive backing only sticks to the outside edge of the tile. Once you cut a shape (that doesn't include an edge) your tile has gone 'free-range'! Take another look:

The other side of the adhesive sheet was definitely sticking to the chipboard, though.
On to Plan B:
Peel the adhesive sheet off the chipboard.

Get out the Tacky Glue and glue the back of the tile to the chipboard.

Back on track with the faux tile attached to the chipboard.

Time for paint!

Some pale pink chalk paint gave me just the right color. One coat was almost enough, but there were a few thin spots, so I gave it another coat.

I wanted a distressed look in gold, so I got out the Rub n Buff to highlight the raised parts of the tile.
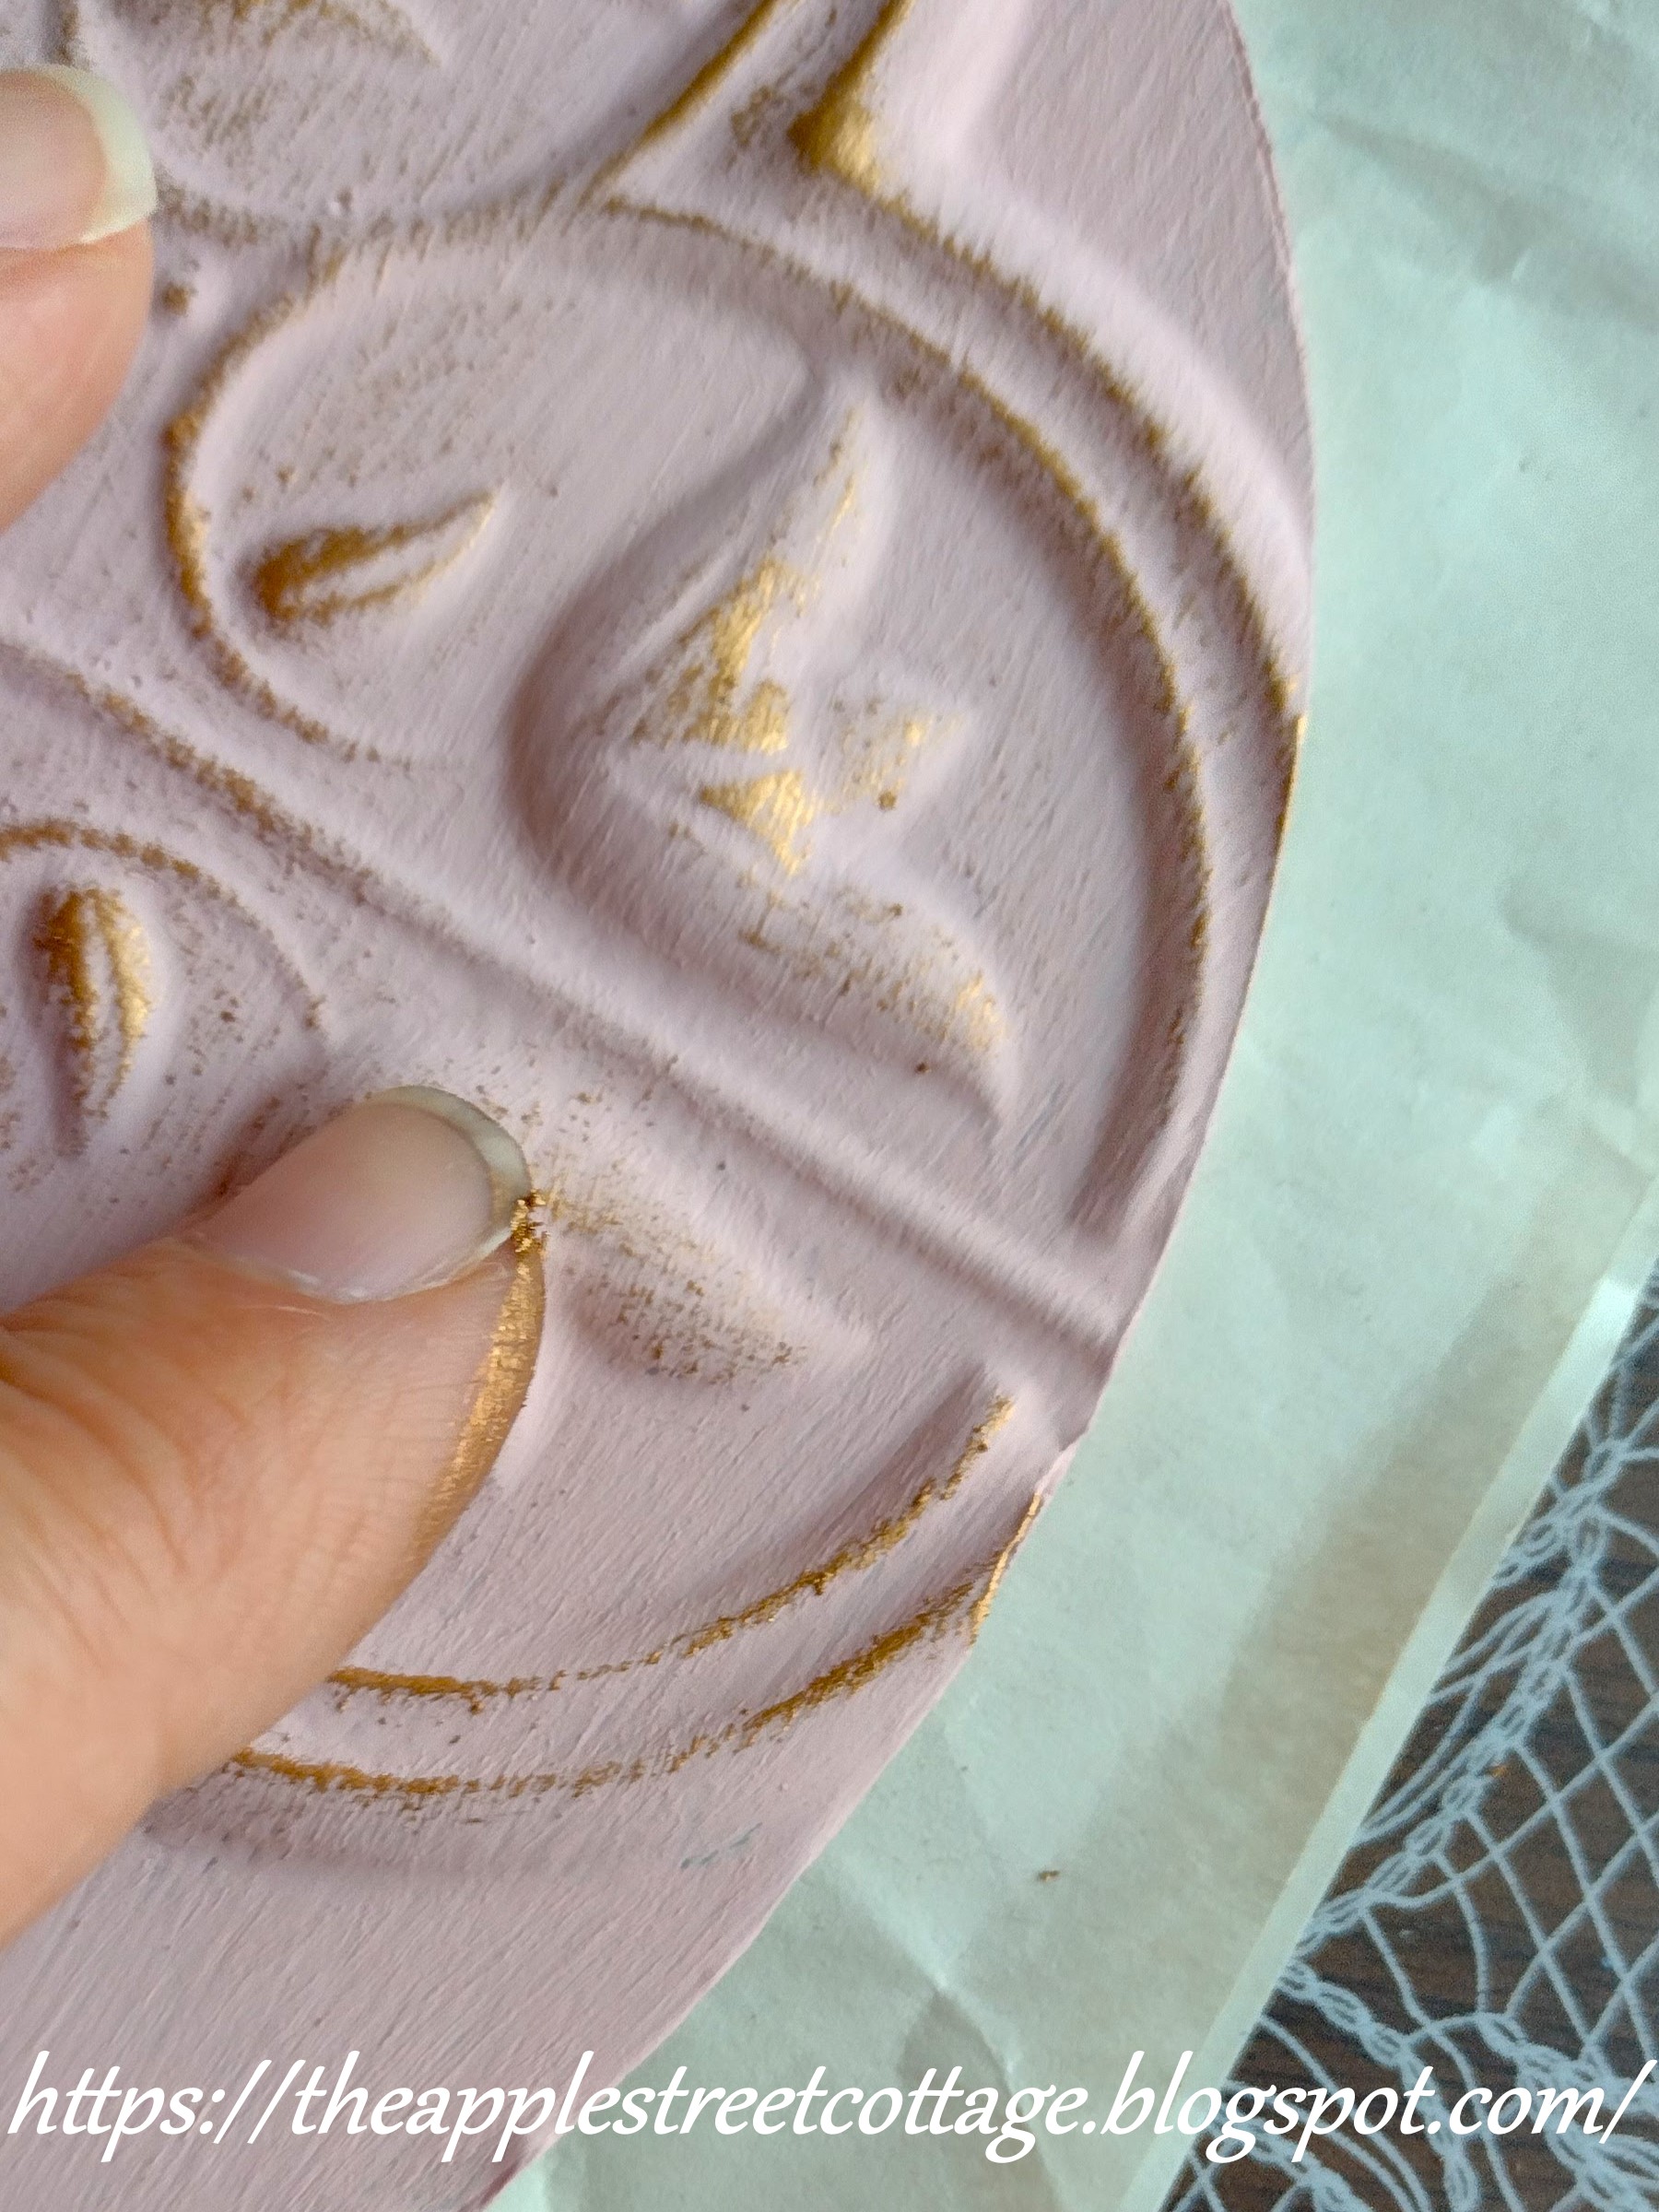
I use my finger, and yes, it's messy, but I'm one of those people that needs to feel what she's doing and I can't through a glove.

Some clear wax, applied with a soft cloth, sealed the paint.
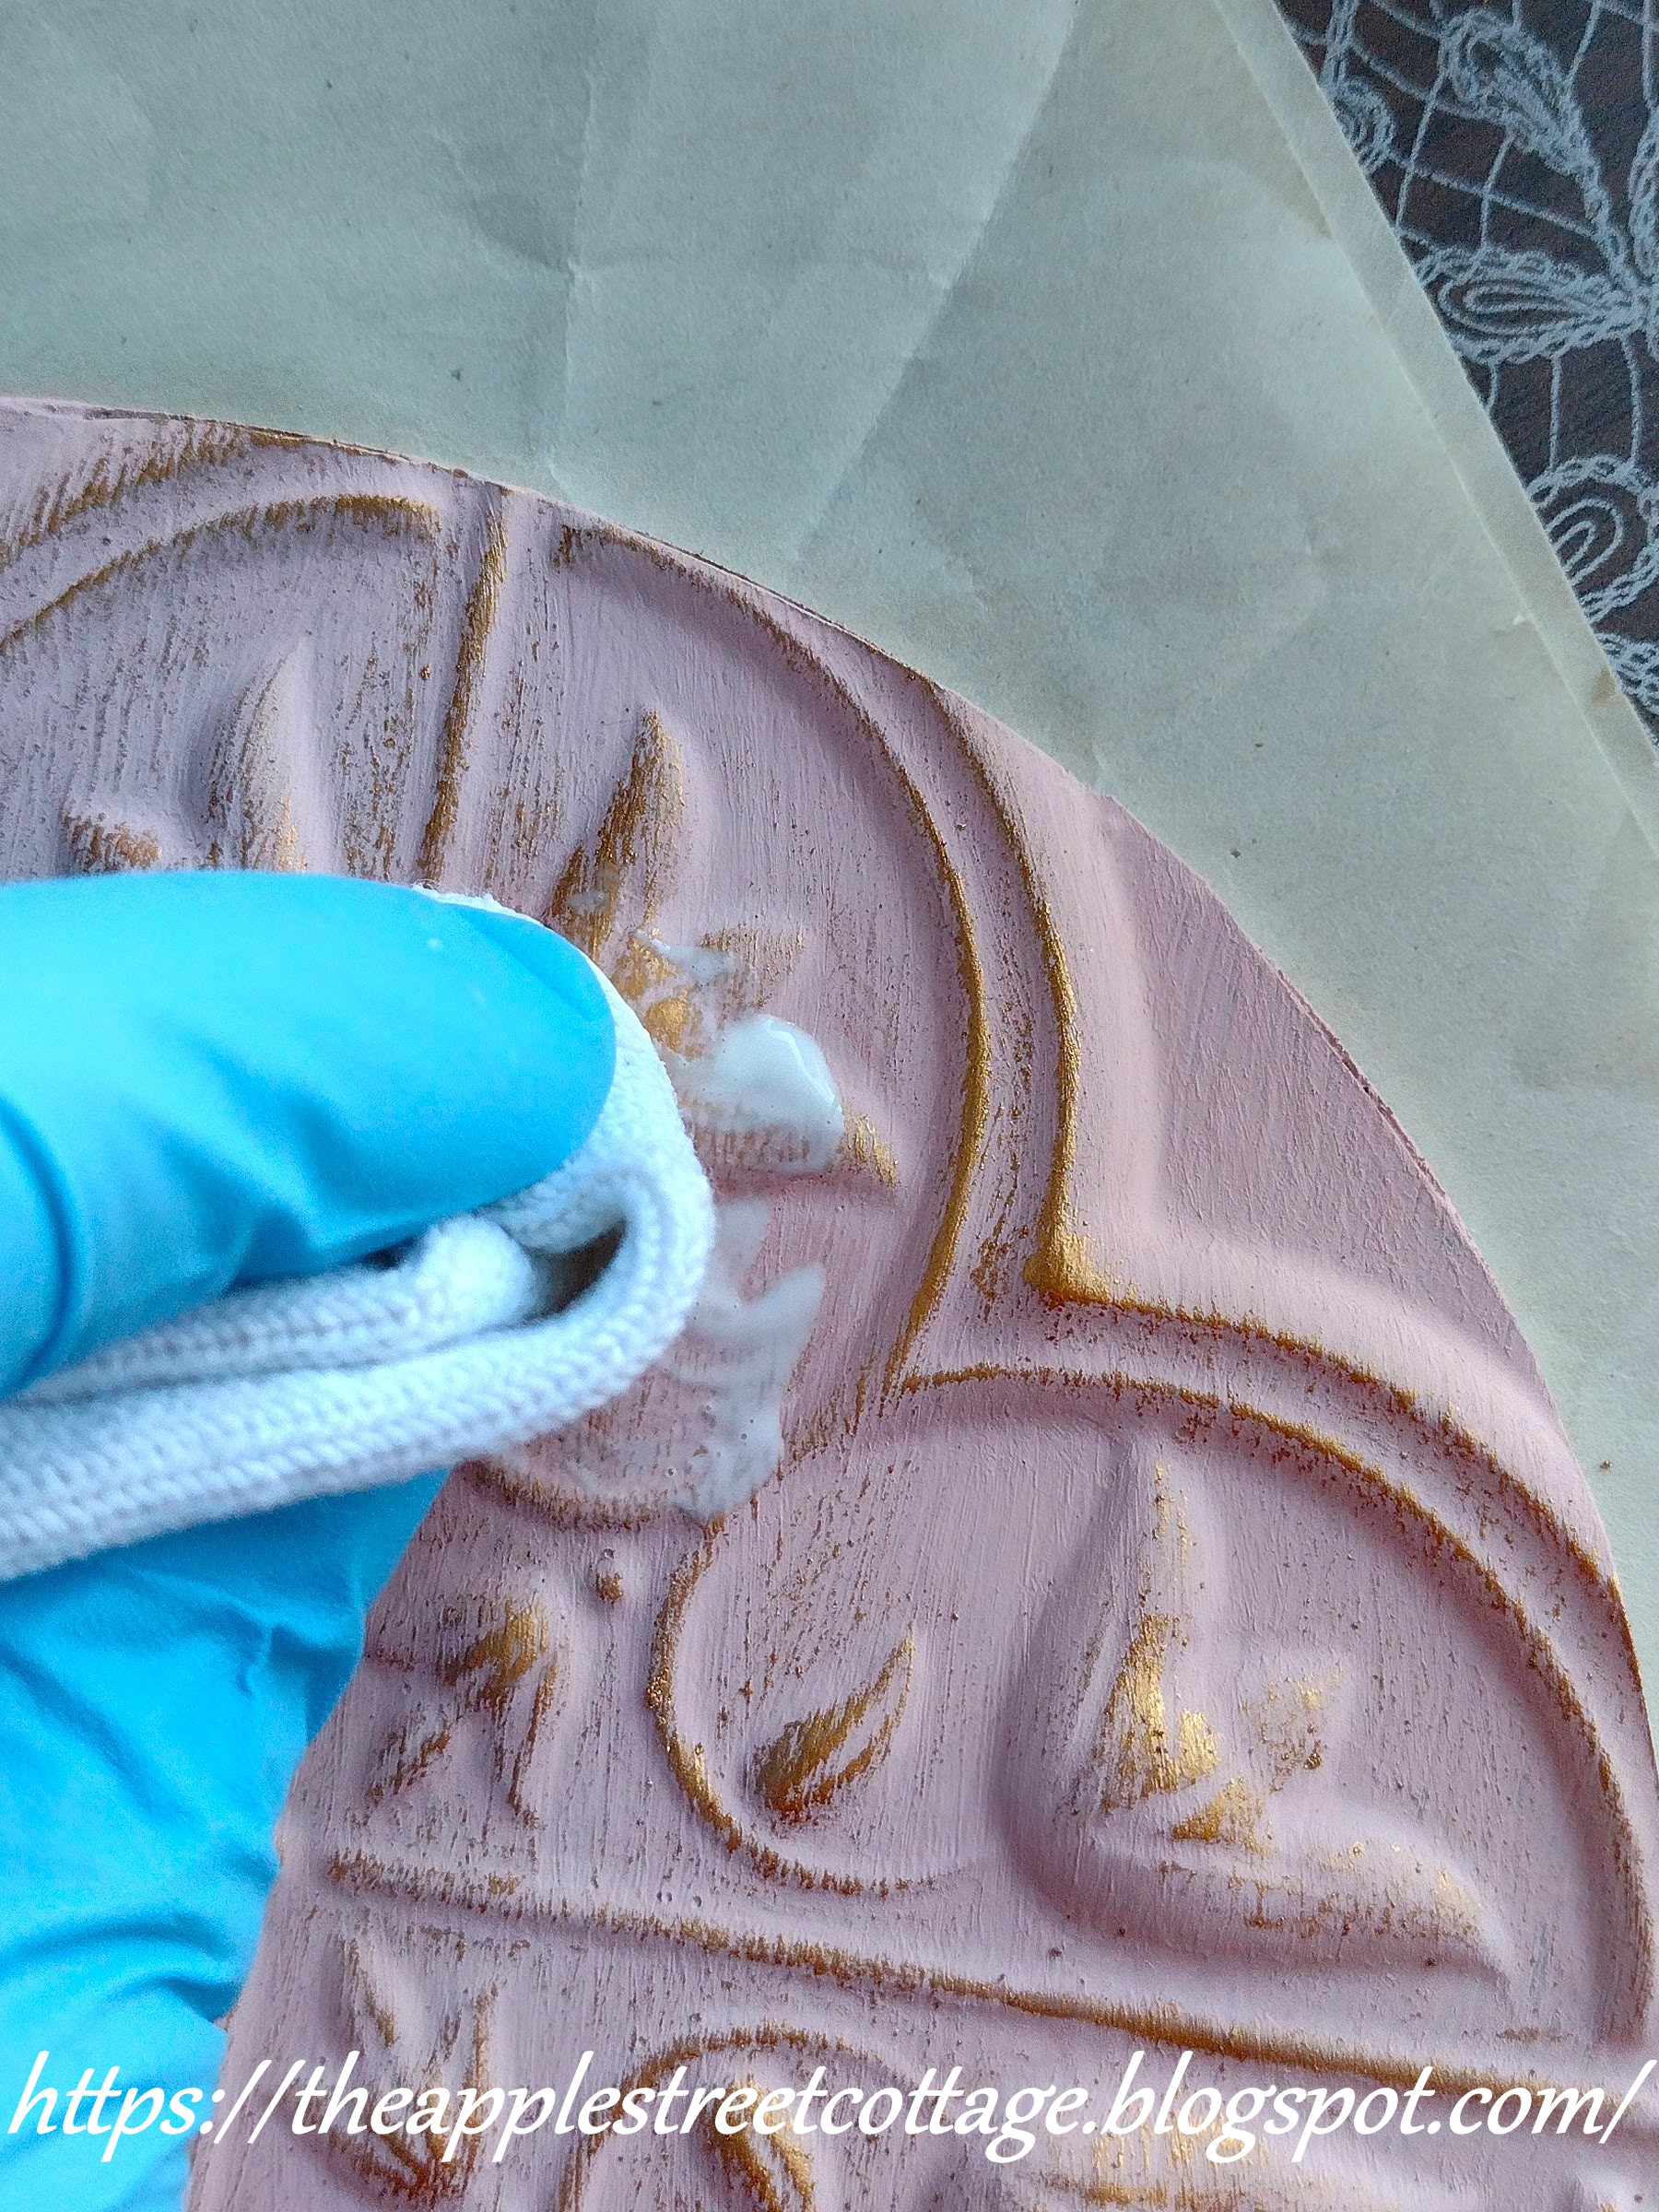
See, I do wear gloves sometimes!
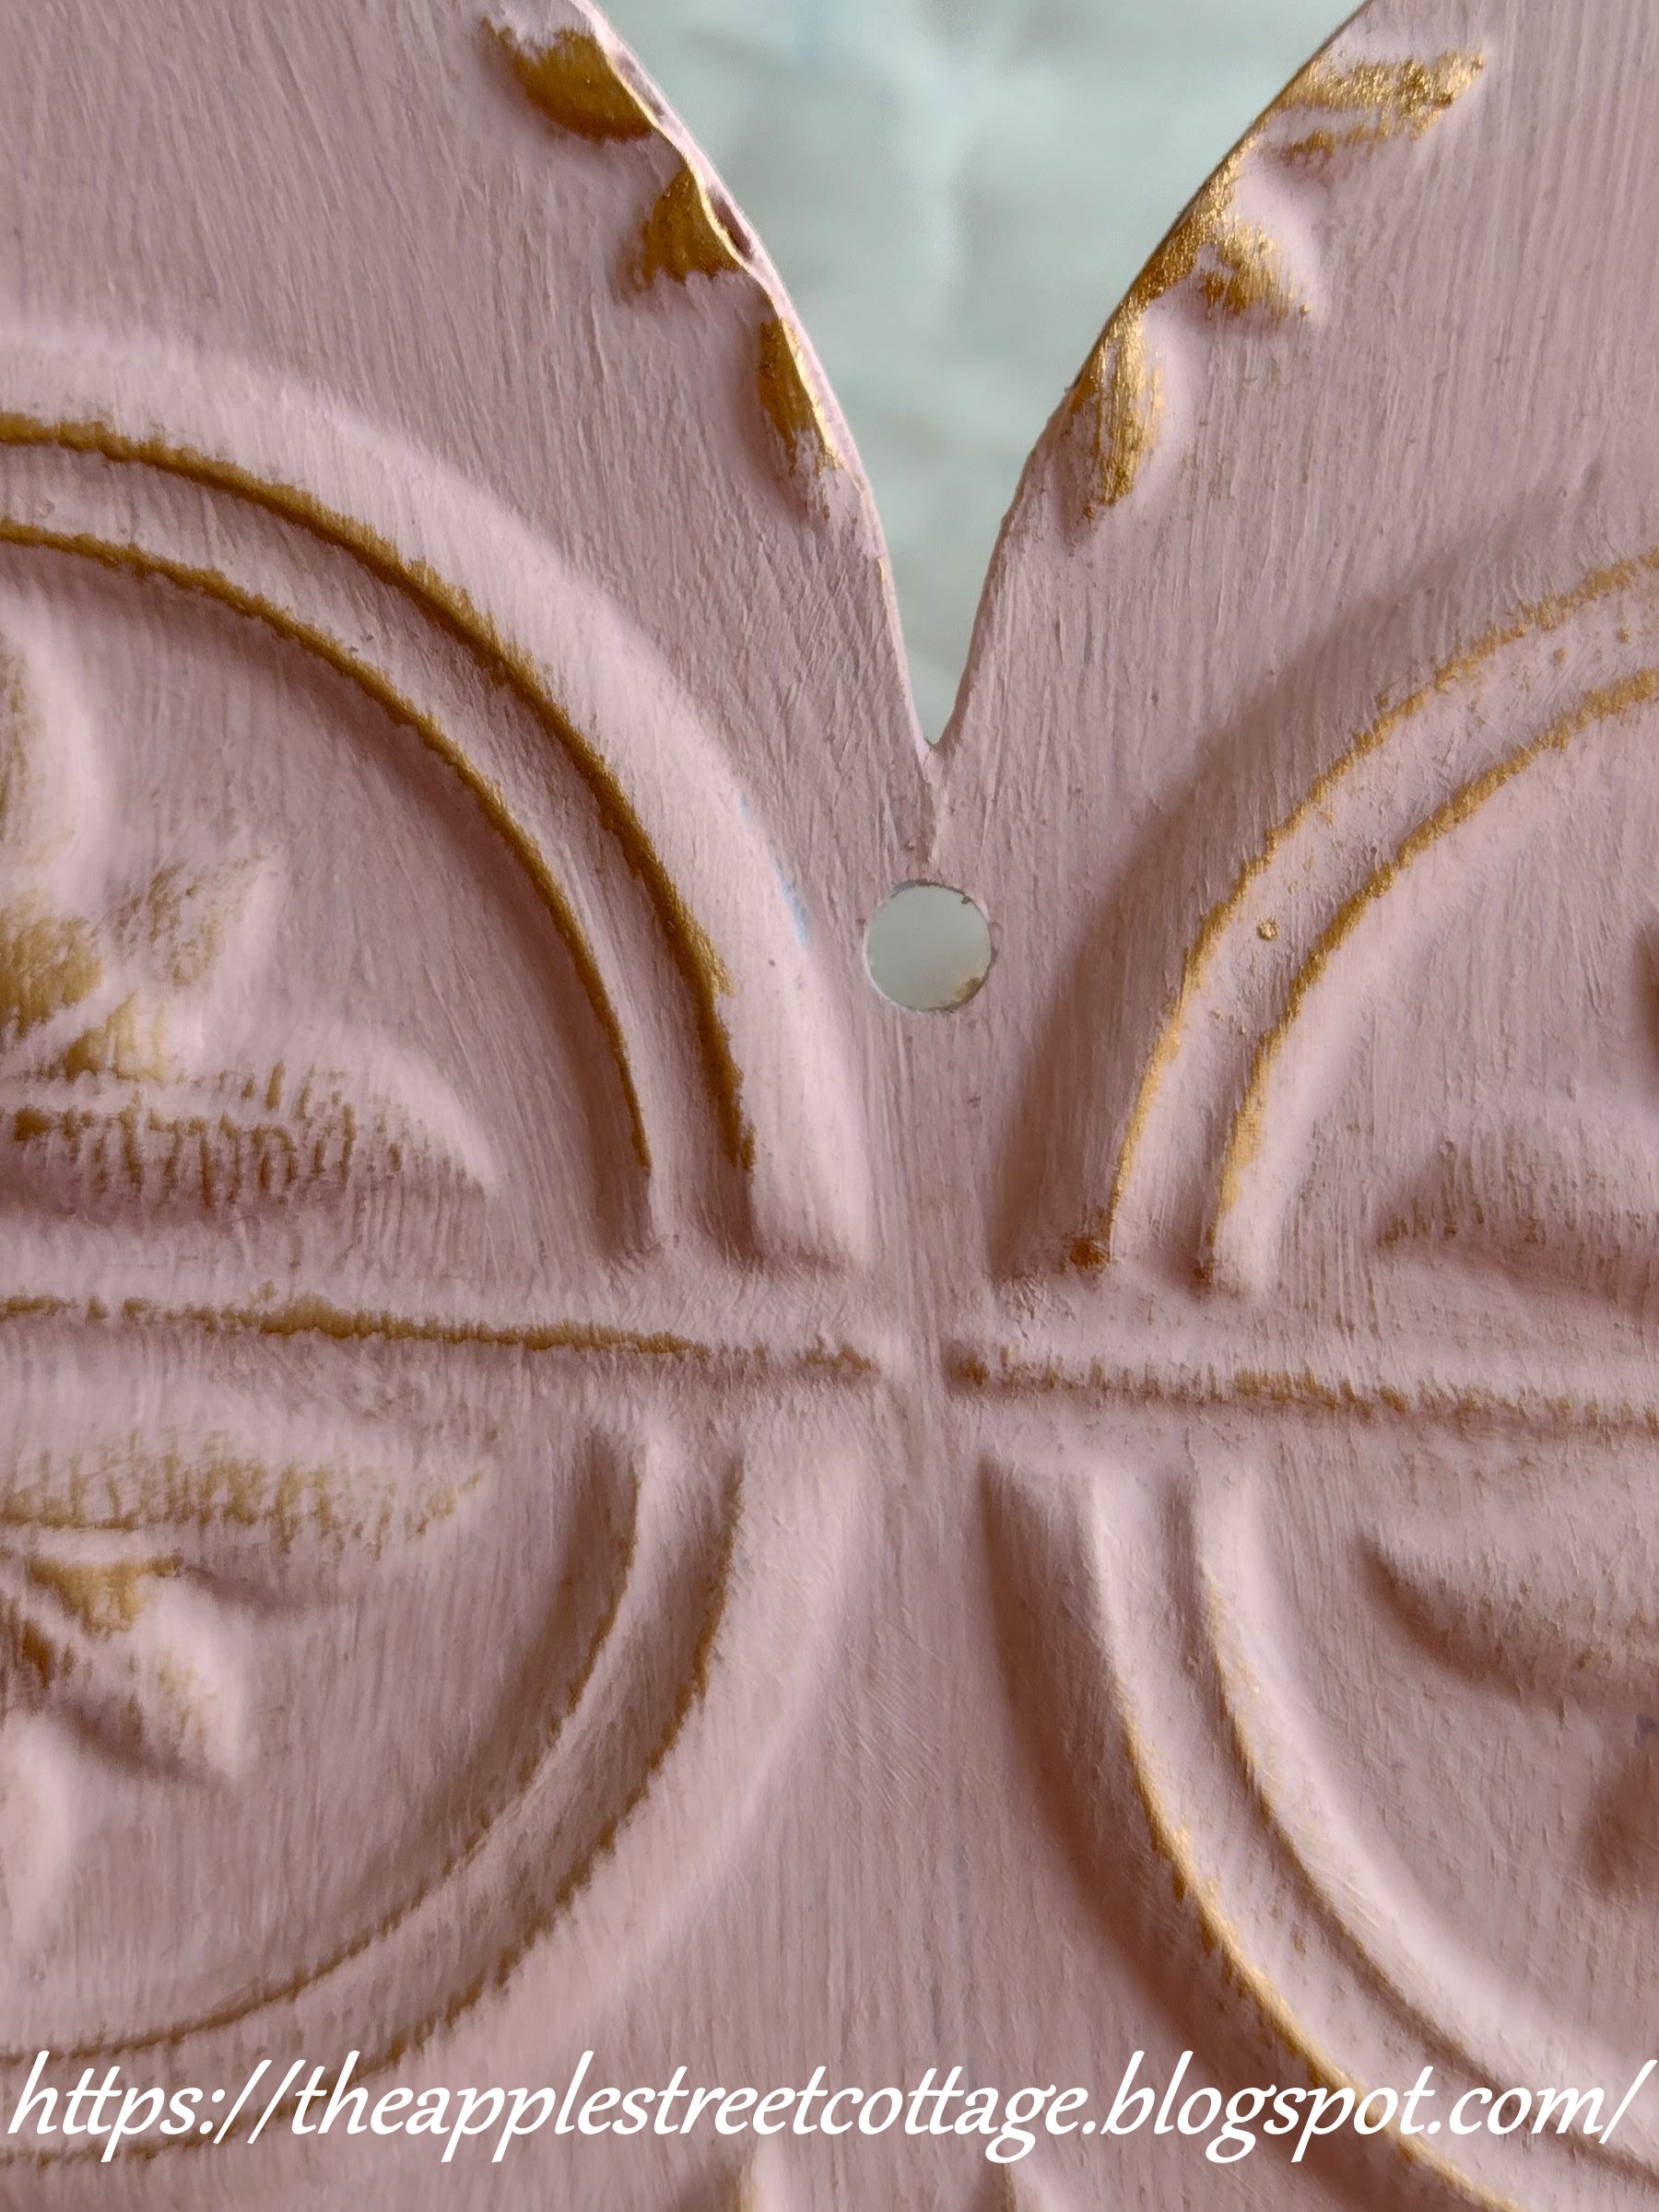
I punched a hole for hanging with my Big Bite.

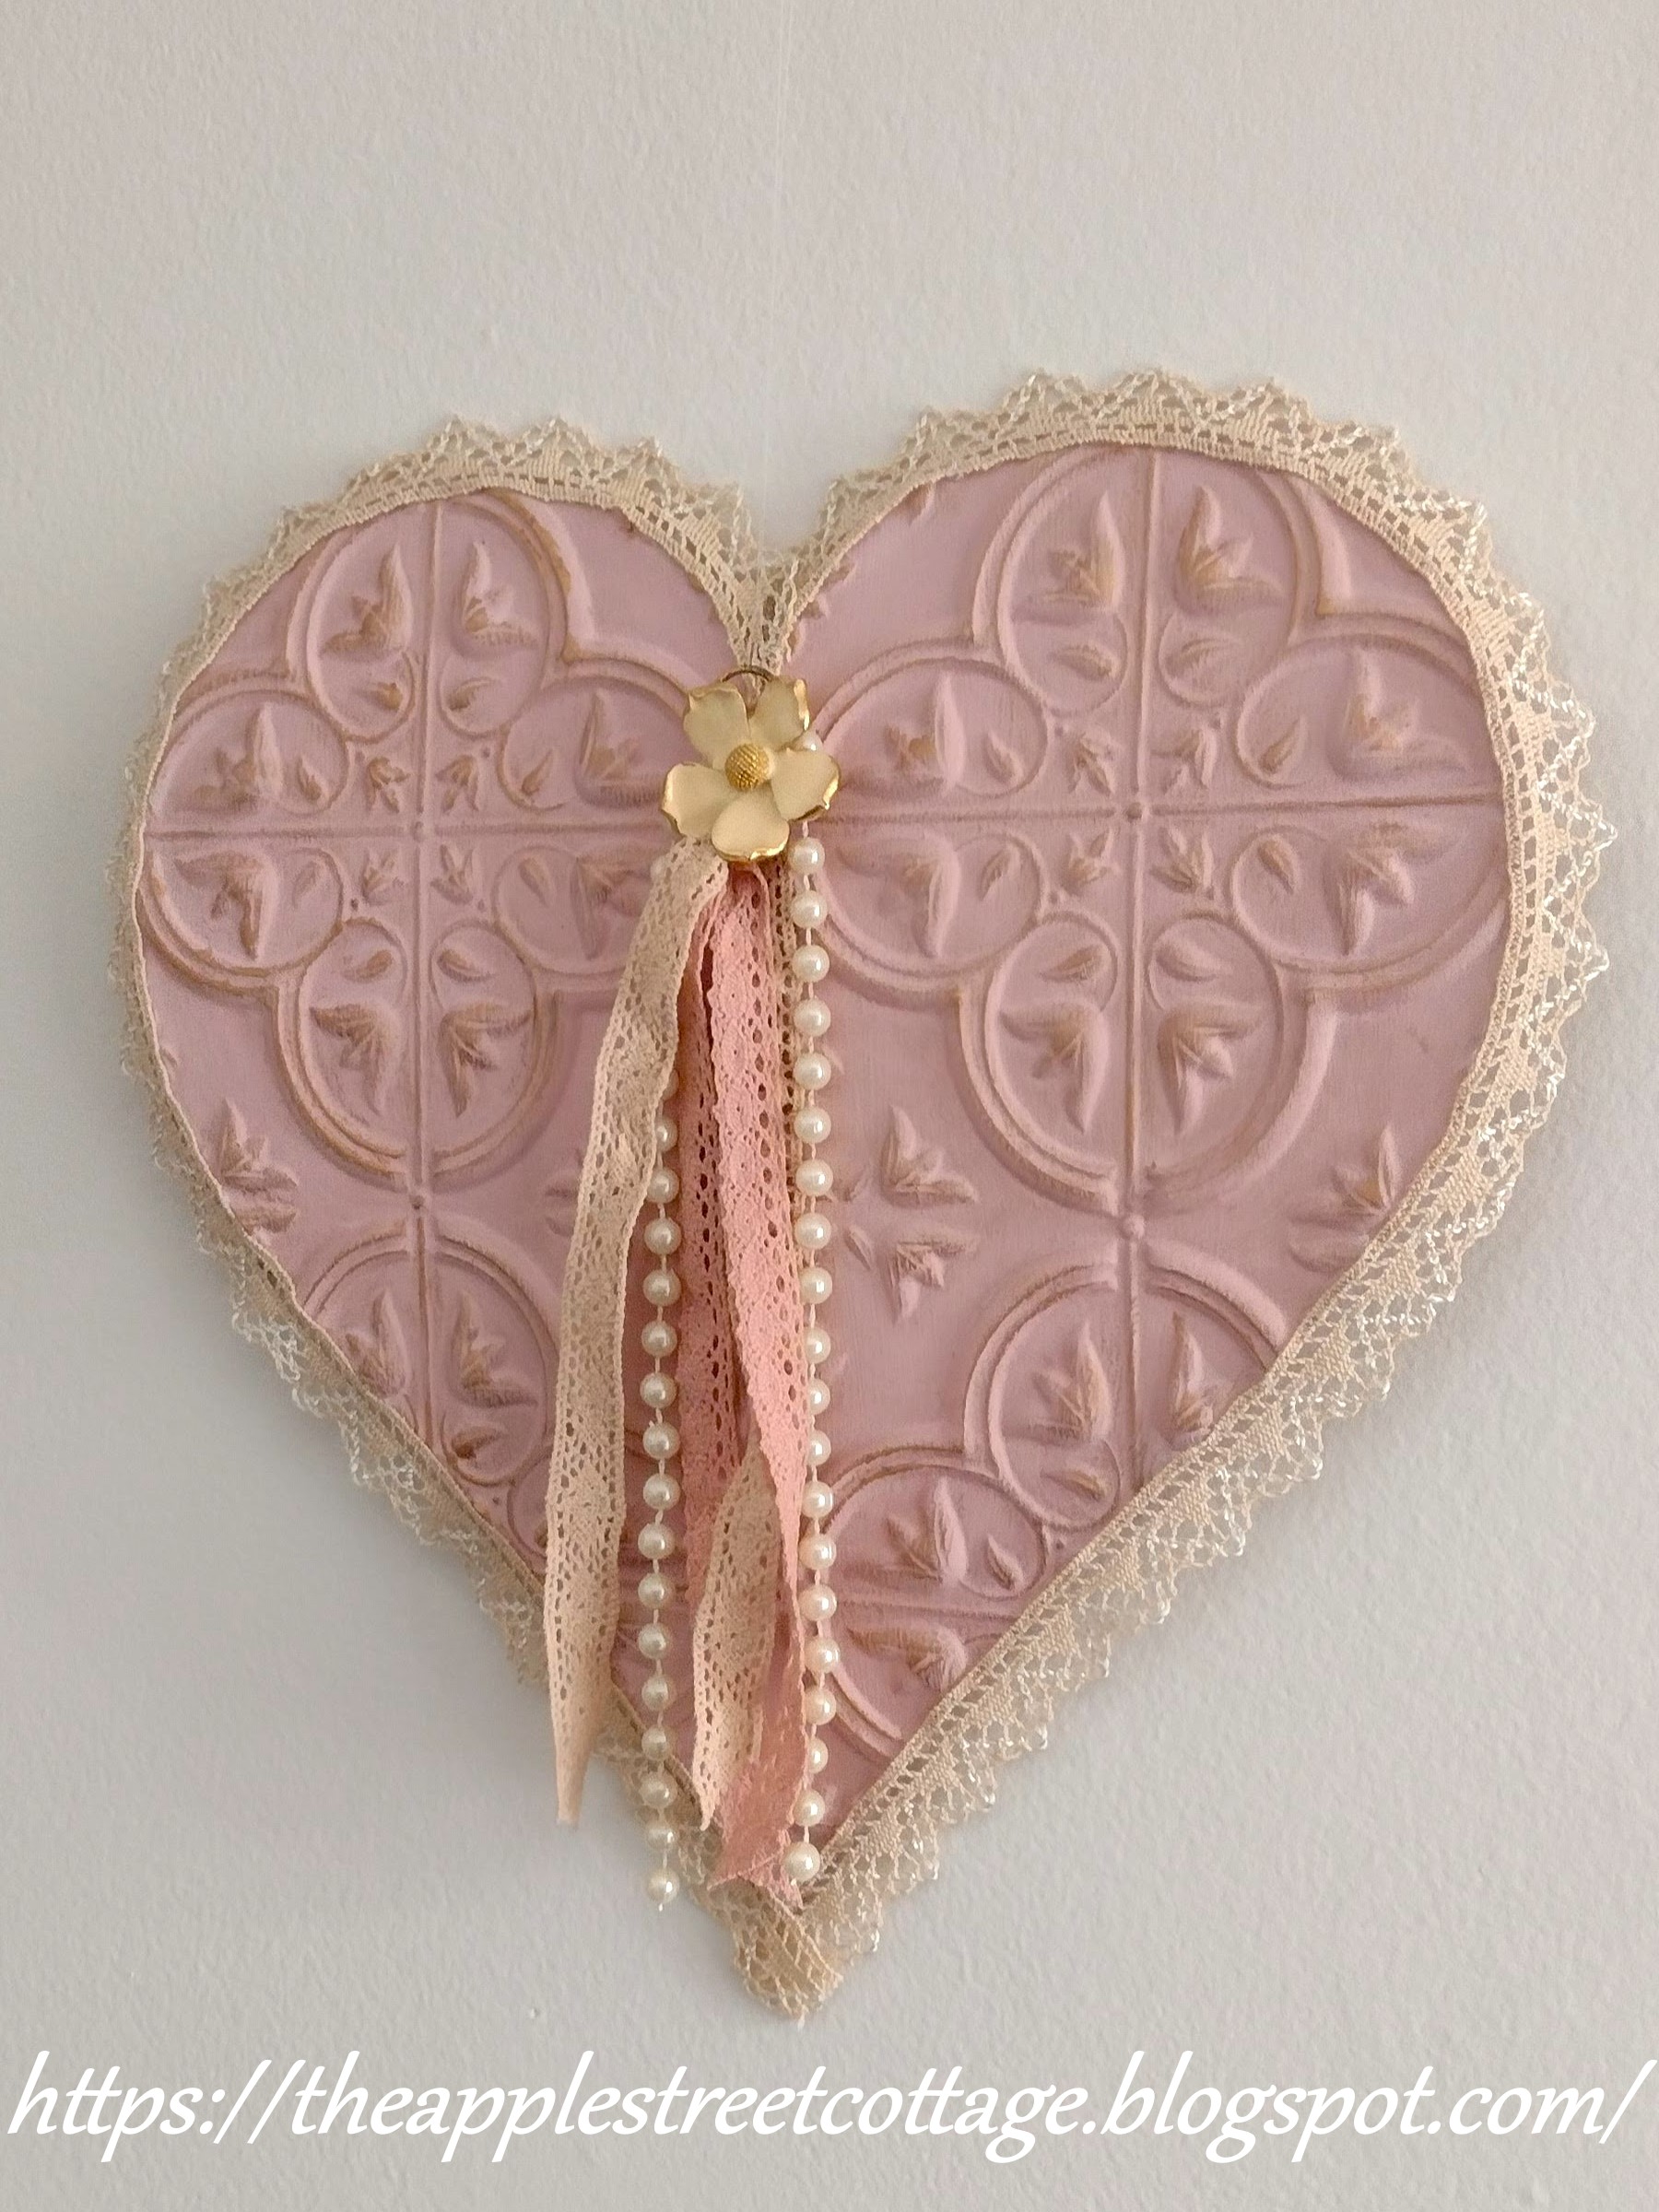
My hot glue gun attached lace to the outer edge.

Almost done!

I gathered some lace trim, faux pearls, and a piece of vintage jewelry to finish the look.

If you look carefully the flower has two loops. I'm guessing it was part of a bracelet at one time, so in the interest of using what I have, I ran the lace trim through one of them.

The faux pearls and the top loop of the flower were looped through a piece of fishing line that I ran through the hole in the heart.

Everything was tied and a dab of hot glue was added to the back to keep it all in place.

A little Valentine's Day decor completed in time for the big day!
Featured at:


.jpg)


Very clever and pretty! HPS!
ReplyDeleteThank you so much, Nancy!
DeleteIt does look tile - and I really love the gold highlights. #Yourmoment
ReplyDeleteThank you, Lydia. I really thought the pink needed gold highlights!
DeleteThis is such a pretty wall hanging for February! I like the Victorian look of this piece. Thank you for sharing this post in the Talent-Sharing Tuesdays Link-Up 52.
ReplyDeleteCarol
www.scribblingboomer.com
Thank you, Carol - happy to share!
DeleteThis is such an adorable craft! I love the look of the faux tile and the pink color you chose is perfect. thanks so much for sharing at Home Imagined!!
ReplyDeleteThank you so much!
DeleteAnn, thank you so much for sharing this with Whimsy Home Wednesday. I love anything with faux ceiling tiles, especially since this vintage heart can stay out all year long! Thank you for sharing your inspiration.
ReplyDeleteSo true, Cara. This is a year-round piece. I'm so glad you like it!
DeleteThis is so pretty Ann. I love the pink and gold together, it looks so classy.
ReplyDeleteThank you, Julie!
DeletePERFECT! I've seen these and now I know I need to get some next time I'm there!
ReplyDeleteYou do, Carol. The possibilities are endless!
DeleteAnn, that is really beautiful. I love the color and the lace trim. I've seen the tiles, but never knew what to do with them. You have a great vision...now I think I'll need to grab a few on my next trip!
ReplyDeleteI like this. I’m guessing you hang it on your wall? Making valentines is fun and old-fashioned. While this may not be exactly a Valentine, it’s like it, and more meaningful being homemade.
ReplyDeleteThanks for sharing this at the Sunday Sunshine Blog Hop. I’ll be featuring your post this week.
Laurie
Yes, it hangs on the wall or a door. Right now, it's hanging on my china cabinet door.
DeleteThank you so much for the feature!
That is so pretty!
ReplyDeleteThank you!
DeleteThank you, Joanne.
DeleteYour heart is beautiful! I love the shade of pink you used. I'm featuring you tonight at the #HomeMattersParty. Thanks for sharing!
ReplyDeleteThank you so much, Allyson!
DeleteNot only did I have NO idea a dollar store would carry a ceiling tile, I hadn't realized how lovely it could become as a painted heart! This is really pretty!
ReplyDeleteActually, this is only one of the styles they carry. They are lightweight and are fun to reinvent!
DeleteI'm so glad you like how I repurposed it.
Ann, Your vintage heart came out so beautiful! I love how you added the vintage piece of jewelry. I am excited to let you know that I will be featuring you tomorrow at the Home Imagined Link Party. Hope to see you there.
ReplyDeleteThank you so much, Meagan!
DeleteA great idea to use the ceiling tiles from the Dollar Tree! Visiting here from Kim's recommendation at Exquisitely Remarkable. Love your tutorial, and happy to meet you!
ReplyDelete