Posts

Merry Christmas

Image
Merry Christmas From Our House To Yours. See you in 2015!

Chocolate Chip Cookie Dough Brownie bombs

Image
I made these last Christmas and they were so delicious, I just HAD to make them again!  This is the most decadent - and delicious dessert I have come across in a long time and I have The Domestic Rebel  to thank for these.   You just HAVE to make a batch!   Here's her recipe: Chocolate Chip Cookie Dough Brownie Bombs Author:  Hayley Parker, The Domestic Rebel Recipe type:  Bombs Prep time:   1 hour 30 mins Cook time:   30 mins Total time:   2 hours Serves:  15-18 My SIGNATURE recipe. Bomb your diet. Do it. Ingredients ¾ cup butter, softened ¾ cup brown sugar ¼ cup white sugar 2 Tbsp milk 1 tsp vanilla extract 2 cups all-purpose flour Pinch salt 2 cups miniature chocolate chips, divided 1 pkg fudge brownie mix, baked and cooled 1 pkg Candiquik or chocolate almond bark Instructions Let’s make some dough! In the bowl of a stand mixer, beat together the bu...

Christmas Movie Decorating

Image
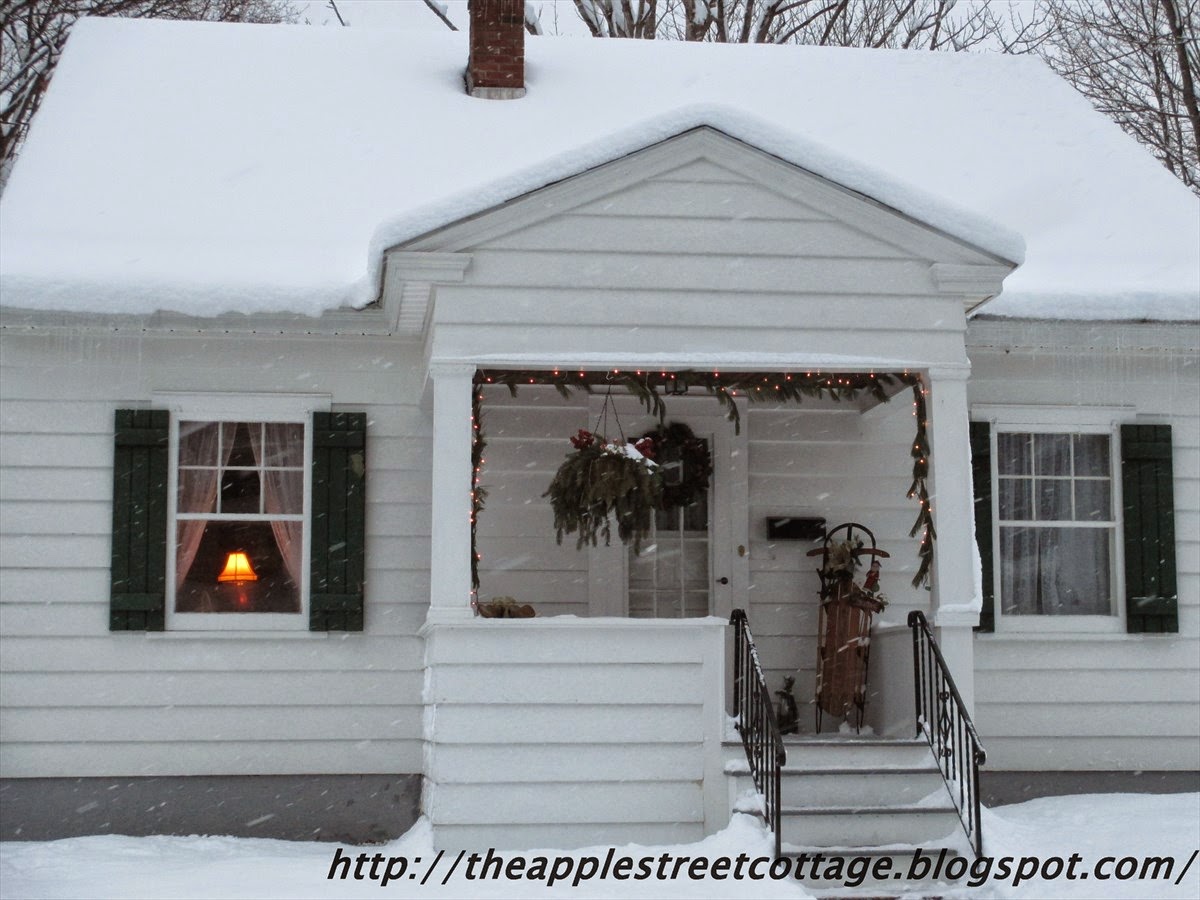
It's almost Christmas and I am FINALLY starting to feel like myself again!  WooHoo!!  Unfortunately, I am waaaay behind on my decorating.  I've managed to get a few things out and I thought I'd share some things from some of our favorite Christmas movies.  Let's get started...... We had more snow last week, so I bundled myself up and went out to take a few pics.  Do you see the movie reference in this one?  And, yes, those are snowflakes flying!! My son gave me this a few years ago.  It is from one of my all-time favorite shows. Here's a hint.......imagine it filled with eggnog! This one might be a stretch, but I realized that I hadn't shared any view of the kitchen either.  As you can see, the main color is red.  The scale was found at an estate sale a few years ago and the snowman hat was from a gift. So, how did you do?  Did you get all 4 movie references?  I'm so glad you stopped by the cottage.  S...
It's Beginning......

Image
....to look a "little" like Christmas! It has been a tough week at the cottage.  Last week I shared that we were battling some germs.  Hubby spent the better part of 3 days in bed with a cold and then I got a sore throat....I'm still coughing and sneezing a bit, but, hopefully this is the end of it. The down-side?  I've barely started my Christmas decorating!  Let me show you the little bit that did get done. One of the days when my hubby was sick in bed, I got outside and managed to get lights on and hang the garland on the porch.  Can I just say, "It was REALLY cold!"  There used to be a canvas awning that edged the top of the porch. We removed it, but the loops for holding it in place are still there - perfect for hanging the garland with cable ties!   Let's walk up on the porch and see my sled. This is one of my favorite decorations!  I found the sled at a yard sale years ago.  I added some artificial greens, a bow, the ...

Pretty in Pink......

Image
....and green & gold! I hope everyone had a wonderful Thanksgiving.  This was one of the few that we did not cook.  We spent the day with friends and had a wonderful time. Unfortunately, I spent the weekend feeling 'under the weather' and now the hubby is sick with a nasty head-cold.  I hope this passes quickly!   But, let's move o n to today's post.   Tell me what you think of this: I was featured at Merry Monday.  How Exciting! I was also featured at Mila's Little Things! Remember, you can click on the pics for a better view! This wreath was so easy to make!  I used a wire coat hanger and shaped it into a circle: Then I opened the hanger near the hook, attached a binder clip (just in case any of the ornaments wanted to slide off), and started stringing the (unbreakable) ornaments: When I was done, I filled in any gaps with extra ornaments, attached with hot glue.  The blogger who inspired this wreath recommen...

Baby, It's Cold Outside!

Image
Even  though today was warm, we had some cold weather last week, and, I'm pretty sure more is on the horizon!   My hubby has been feeling a draft on his feet, so I decided to make some draft-stoppers.  This is one of the easiest projects to complete.  I used some leftover fabric and a couple of bags of rice.  Here's the "How-To": First, cut your fabric a little longer than the width of your door & 8 inches wide.   With right sides together, stitch around 3 sides.  I made 2 lines of stitching for a little extra security for all of that rice! I clipped the corners and turned the tube right side out. I filled it with about a bag and a half of rice.  The amount of rice needed will depend on the width of your door. Filler up and stitch-up the end.  Don't forget to measure it by your door to get a perfect fit.   I also made a loop to hang it on the doorknob for when you needed to open the door! That's it!   Just a...

The 1950's Bathroom Gets a 2014 Update!

Image
Happy Monday!  I hope you had a great weekend. It's been pretty cold here and this morning we woke up to snow.  The schools had a 2 hour delay and now it's raining.  Yes, that snow is wet and HEAVY!!  So glad I don't have to go anywhere today!  Last week we were able to complete one of the very important projects at the cottage - updating the electric.  We already upgraded to breakers from fuses and changed the old outlets to 3-prong. The last step was to add some outlets. One of the most important ones to add was the bathroom.  Let me tell you the story... The cottage has a beautifully preserved 1950's pink-tiled bathroom.  The problem was that the outlet that was in it, didn't work.  So, for the past 4 months since we moved in, I've been running an extension cord from the bedroom into the bathroom so I could dry my hair.  On a side note....I burned through 2 extension cords and before the breaker box was installed, the fuses were b...