Posts

Showing posts from March, 2016

Friday Find

Image
Welcome to the very first Friday Find.  Today I want to share something that was originally found almost 30 years ago: I found this shell one morning, on the beach in Aruba.  It's been packed away for a while and was recently rediscovered when I started unpacking boxes to Style the Hutch .   It's actually pretty large - the size of your hand and I was thrilled to find it, since so many of the other ones were smashed to bits.  That morning there were several workers raking-up the broken shells that had come in on the tide.  I was the only one out there and they must have thought I was crazy picking through the debris.   I'm so glad I did - It's a treasured reminder of our honeymoon in such a beautful place! Have a wonderful weekend...and thank you for stopping by the Cottage. Linking to: Shabbilicious Friday Thursday Favorite Things

I Gotta Wear Shades!

Image
Meet Chalk Pig: He's the latest addition to the Pig Collection(yes, we have a pig collection!), here, at the Cottage.  When I took him out of the box the first thing my husband said was, "HE DOESN'T HAVE EYES!" So I did a little searching, and found these: I'm a problem-solver - don't you think? I hope Chalk Pig made you smile.  Have a great week!

'Stylin' the Hutch

Image
Last week I shared the newly painted hutch.  It is now styled and I want to share this update: I couldn't decide if I liked it better with, or without the hydrangeas in the foreground! See the pig on the right?  There's a story - worthy of it's own post.  It's called, "I Gotta' Wear Shades!" There are many treasures that were unpacked and it was so nice to see them again! Featured at: Anything Blue Friday

The Painted Hutch

Image
After several weeks   of life with a paint brush in my hand, I am proud to say, "The hutch is done!" I've been searching for one since we moved into the cottage about a year and a half ago and finally found it last fall.  It was your typical 1970's two-piece, dark pine hutch, and it was mine!  After wrestling it into the basement work area, it was ready for a makeover! After all that work to get it in there, I wasn't going to ask my husband and neighbor to stack the pieces for a photo, so, here it is in all it's 2-piece glory! I started on the bottom half by removing the doors, drawers and all of the hardware.  The top was sanded, stained a dark walnut, and sealed with two coats of polycrylic.  Here's a peek: The next step was to scuff everything with 220-grit sandpaper and give it two coats of primer.  After that, two coats of paint were applied.  Here's what I used: This part was set-aside to "cure" and it was time ...

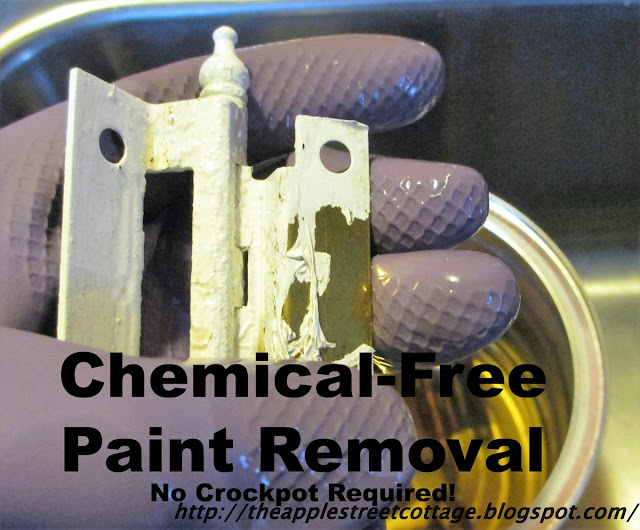
"No Chemical" Paint Removal

Image
Hello, my friends!  I meant to post last week, but my vertigo was acting up...you know it's bad when moving your eyes makes you dizzy!  If you suffer from vertigo, you know what I mean.  I suffered for a few days, then, finally tried the Epley Maneuver and was feeling much better the next day.  I'll have to share that in another post.  Now, let's talk about today's project. Prior to my carpal tunnel surgery, I was busy working on a hutch for my dining room.  While I was painting, I had the brilliant idea to paint the hinges with a brush...yes, I know, not one of my finer moments!  I soon realized that it was a bad idea and was left with hinges thick with paint.  Chemicals were not an option. I had read that one way to clean off the paint was to use a crockpot. I don't know about you, but I LOVE my crockpot and use it for FOOD!  No painted hinges were going in my crockpot, so I came up with my own solution. Here's a quick peek at the...