Posts

Showing posts from April, 2018

Beautiful Wreath & A Discount for You
Image
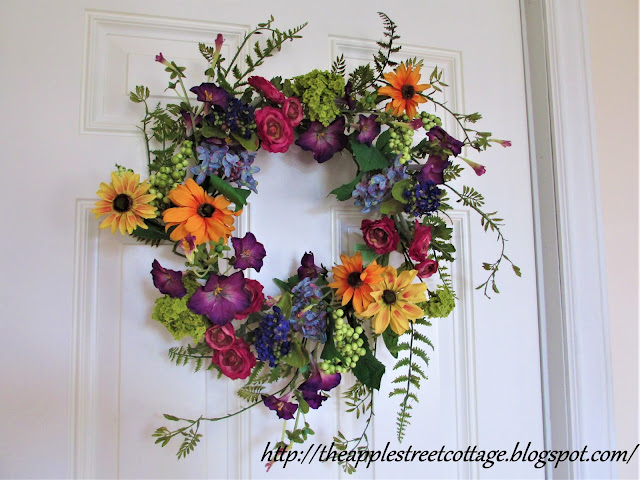
If you're like me, you're always on the look-out for something pretty to put in your home, so when I was contacted by a representative from Commercial Palm Trees , I was thrilled!   They offered me a product from their extensive plants, trees, and outdoor collection in return for a neutral review of the product chosen.   There were so many options, but, here's what I finally chose: They did an excellent job packaging this wreath for shipping. This is exactly what it looked like when it came out of the box and I was impressed by how life-like the flowers were.  Take a look at some close-ups: I think the flowers are beautiful. Don't you? The wreath is very well-made and I expect it to last a long time. Based on this wreath, I would not hesitate to purchase from them. They have an extensive selection of silk plants that includes flowers, plants, topiaries, trees, and more.   Now, for the best part.  If you would like to find something...
3 Favorite Upcycle/Recycle Projects

Image
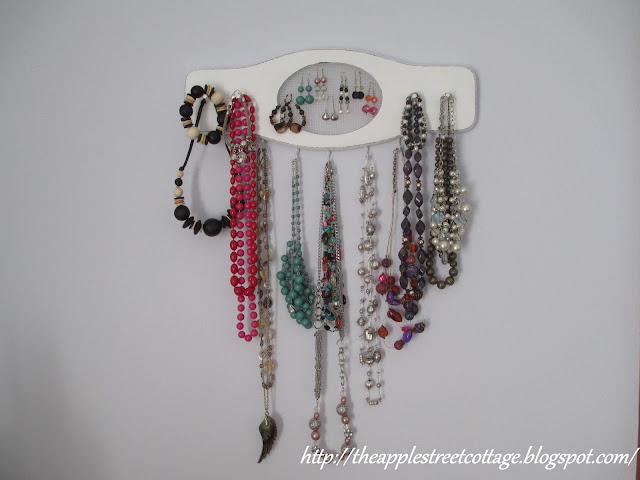
In honor of Earth Day this weekend, I thought we'd take a trip down memory lane to look at a few favorite upcycle/recycle projects from the Cottage.  Let's get started... First up is the key rack turned into a jewelry organizer.   I'd been looking for something for quite a while when I came across this key rack at a flea market: Big difference, huh?  To read all about the transformation, click HERE . My second project is this sweet, little planter: This was also found at a flea market with a very 1970's look: This planter lived on my front porch all Spring, Summer, and Fall.  For the Winter, it came inside.  I'm hoping it will have a new porch very soon.  To read how it was transformed, click HERE . Last, but not least is the card catalog: I've always wanted one, so when an old friend told me he had one in his garage and I could have it...I nearly fell over!  Here's the before: It didn't need much work, just some c...

Make Your Own Placemats

Image
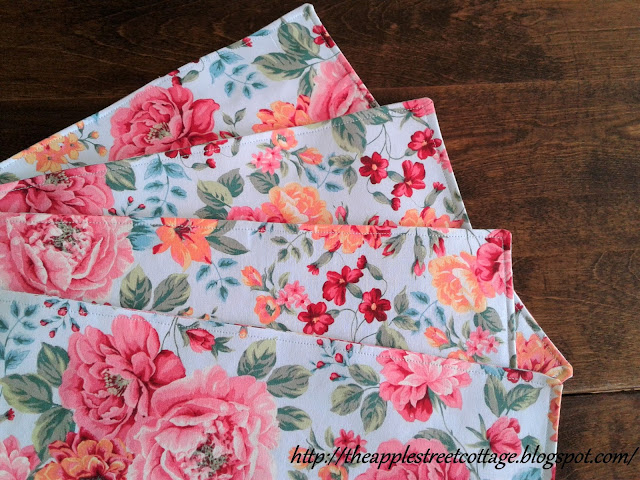
I've been wanting to make some placemats for the kitchen table for two reasons: 1. They look pretty and 2. They protect the table finish.  So, I chose some pretty fabric and got started.   After washing & drying the fabric, the first step is to decide the size of your placemats.  I like plenty of room after the plate is put on it so the finished size was 12" x 20".  That means the fabric was cut to 13" x 21" to allow a half-inch seam allowance.   After the fabric was cut, fusible interfacing was ironed-on to give the placemats a little body.   With the right sides of the fabric together, the pieces were pinned.  I allowed a 7" opening along one of the long sides for turning. You can see the marks for the opening. Using a half-inch seam allowance, the placemats were stitched.  The corners were clipped and the seam allowance trimmed. I left a little 'extra' for the opening.  It made it much...

5-Minute Spring Nest

Image
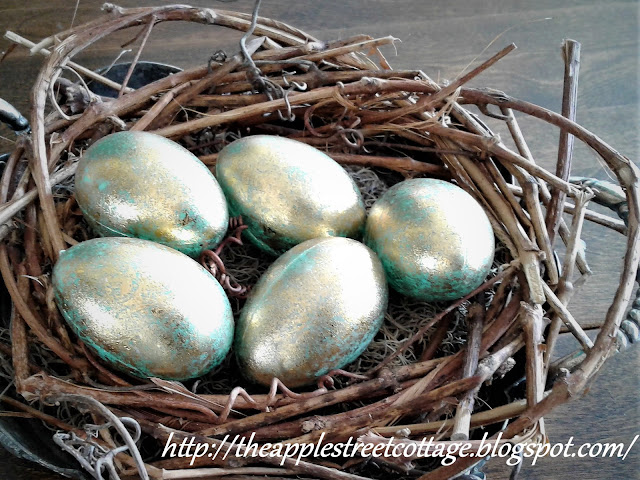
Spring is really having a hard time this year.  How do I know?  It's April and I'm still wearing my winter coat!  I decided another Spring project was in order, one with a minimum of muss & fuss. You may remember the Pairpoint silver bowl I found last Summer: I decided to turn it into some quick Spring decor.   The first thing I did was take apart the Grapevine Heart and soak the vines to make them a little more pliable. I wound them tight enough to fit in the bowl.   Some Spanish Moss was placed in the bottom of the bowl and I found these sweet little eggs at the dollar store: Spring Decor Project done! Has Spring arrived at your house?  If it has, Lucky You!  In the meantime, I'll hope for next week. Thanks for stopping by! Ann I hope you'll pin, share, comment, and follow.  If you click on those 3 little lines at the top right of the blog, you'll see where to find me! Featured at: Sunday...